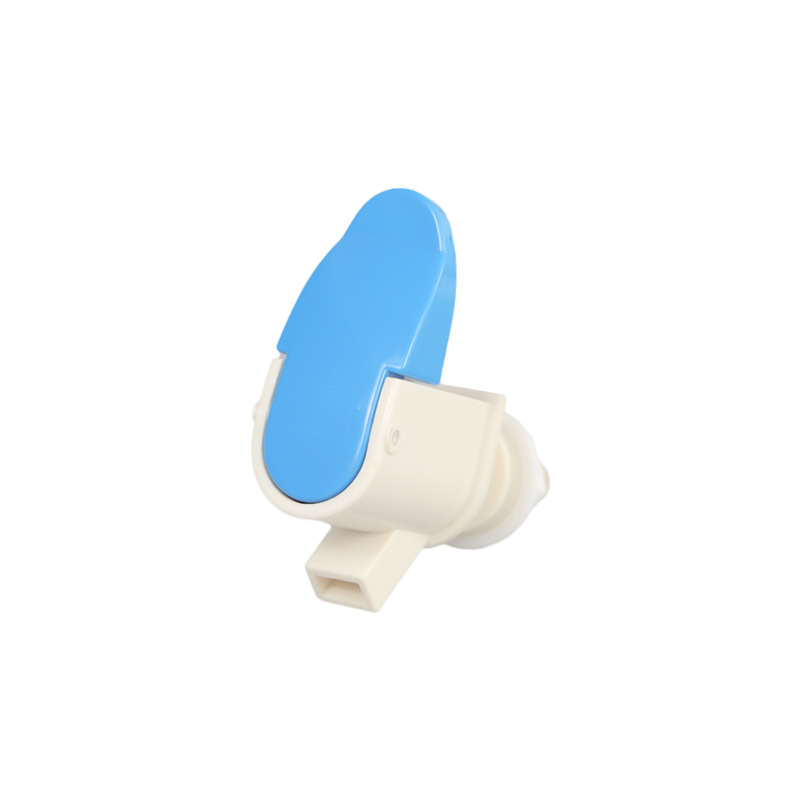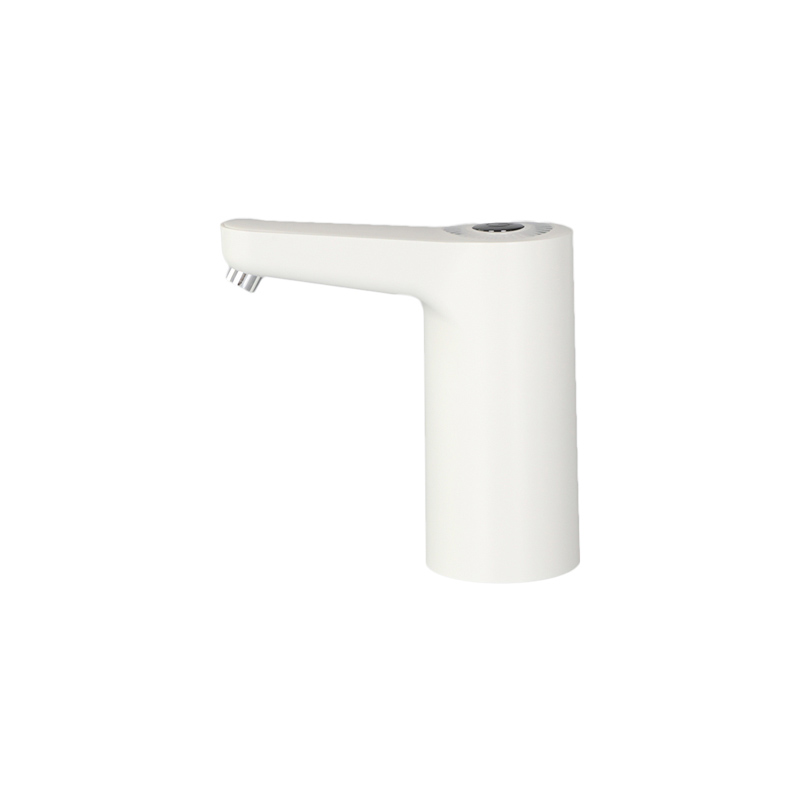

 English
 русский
 日本語
日本語 عربى
عربى Español
Content
- 1 Standard Faucet Connection Sizes Explained
- 2 How a Water Dispenser Faucet Connection Differs From a Standard Faucet
- 3 Common Types of Water Dispenser Faucets and Their Connection Needs
- 4 How to Measure Your Faucet Connection Size Correctly
- 5 Thread Types Commonly Found on Water Dispenser Faucets
- 6 Materials Used in Dispenser Faucet Fittings
- 7 Choosing the Right Adapter or Fitting
- 8 Pressure and Flow Rate Considerations
- 9 Installation Tips for a Secure Faucet Connection
- 10 Maintaining Dispenser Faucet Connections Over Time
- 11 Buying Checklist Before Ordering a Replacement Fitting
- 12 Troubleshooting Common Connection Size Problems
- 12.1 The fitting looks the same size but will not thread on
- 12.2 The connection tightens but still leaks
- 12.3 The dispenser faucet shank does not fit the existing sink hole
- 12.4 Water flow from the dispenser faucet seems slower than before
- 12.5 The push-to-connect fitting will not hold the tubing in place
- 13 Glossary of Faucet Connection Terms
- 14 Frequently Asked Questions
- 14.1 What size is a standard water dispenser faucet connection?
- 14.2 Can I connect a water dispenser faucet directly to a 1/2 inch supply line?
- 14.3 How do I know if my faucet uses NPT or BSP threads?
- 14.4 Do all water dispenser faucets use push-to-connect fittings?
- 14.5 Why does my dispenser faucet connection keep loosening over time?
- 14.6 Can I share one shutoff valve between a dispenser faucet and a refrigerator ice maker?
- 14.7 Does tubing length affect the correct connection size?
- 14.8 Is metric tubing compatible with imperial push-to-connect fittings?
Most kitchen and bathroom faucets in North America use a 1/2 inch NPT (National Pipe Thread) connection, while many countries outside the US rely on 1/2 inch BSP (British Standard Pipe) threads. A water dispenser faucet, however, is usually a much smaller fitting, most often built around a 3/8 inch compression connection stepping down to 1/4 inch outer diameter tubing, since it draws from a low-pressure filtered or purified supply line rather than the main household water line. Knowing this distinction before buying a fitting, adapter, or replacement dispenser faucet is the single biggest factor in avoiding a mismatched, leaking connection.
The rest of this guide breaks down how faucet connection sizes are measured, how they differ between standard faucets and water dispenser faucets, which materials and thread standards are involved, and what to check before you install, replace, or troubleshoot a fitting. It is written for anyone comparing parts before a purchase, whether that is a homeowner, a kitchen remodeler, or a buyer sourcing fittings for a filtration or dispenser product line.
Standard Faucet Connection Sizes Explained
Faucet connection size refers to the diameter and thread pattern of the fitting that joins the faucet body to the supply line, valve, or dispenser tubing. Two measurements matter: the nominal pipe size (the rounded-off diameter used in naming, such as 1/2 inch or 3/8 inch) and the thread type, which determines whether two parts will actually seal against each other even if the nominal size label matches.
Nominal size is a naming convention, not a literal measurement of the outer diameter. A pipe labeled 1/2 inch NPT, for example, does not measure exactly 1/2 inch across at any single point along its taper, which is why fittings are matched by standard rather than by a tape-measure reading alone. This naming approach dates back to early pipe manufacturing conventions and has stayed consistent across most plumbing hardware for well over a century, which is part of why it is still the reference point used on packaging today.
In residential plumbing, the most common sizes at each stage of a typical kitchen supply run are as follows.
| Connection Point | Typical Nominal Size | Common Thread Type |
|---|---|---|
| Main shutoff valve inlet | 1/2 inch to 3/4 inch | NPT |
| Kitchen faucet supply inlet | 1/2 inch | NPT or BSP |
| Angle stop valve outlet | 3/8 inch | Compression fitting |
| Water dispenser faucet inlet | 1/4 inch or 3/8 inch | Compression or quick-connect tube fitting |
| Filtration or RO unit output port | 1/4 inch | Push-to-connect tube fitting |
| Flexible supply line ends | 3/8 inch to 1/2 inch | Compression or coupling nut |
These sizes are generally consistent across major fitting manufacturers, but slight variations do appear between product lines that follow metric standards versus imperial standards, which is why physically measuring the fitting is always more reliable than assuming a size from memory or from a single reference chart.
How a Water Dispenser Faucet Connection Differs From a Standard Faucet
A water dispenser faucet is designed to sit beside a kitchen sink and deliver filtered, purified, or reverse-osmosis-treated water from a separate supply line, rather than mixing hot and cold water from the main plumbing. Because it only handles a single, low-flow line, the connection hardware is intentionally smaller and lighter than a standard faucet fitting, and the internal valve mechanism is also simpler since there is no hot and cold mixing cartridge involved.
Key differences at the connection point
- A water dispenser faucet typically connects with 1/4 inch outer diameter polyethylene or vinyl tubing, not rigid supply pipe.
- The mounting shank that passes through the sink deck is usually narrower, often close to 1/2 inch, to fit into the same predrilled hole used for soap dispensers or side sprayers.
- Connections rely on push-to-connect or compression-style couplings rather than large NPT threaded joints, since the operating pressure is much lower than the main supply line.
- Many dispenser faucets pair with a filtration system or reverse osmosis unit, so the fitting size must also match the output port on that unit, not just the faucet body itself.
- The internal bore of a dispenser faucet is narrower than a standard faucet, which is intentional, since it is designed for drinking and cooking water draws rather than filling a sink or a large pot quickly.
This is why a dispenser faucet cannot simply be swapped using the same fittings as a kitchen sink faucet, even if both are installed within the same cabinet and appear similar in overall shape from the countertop.
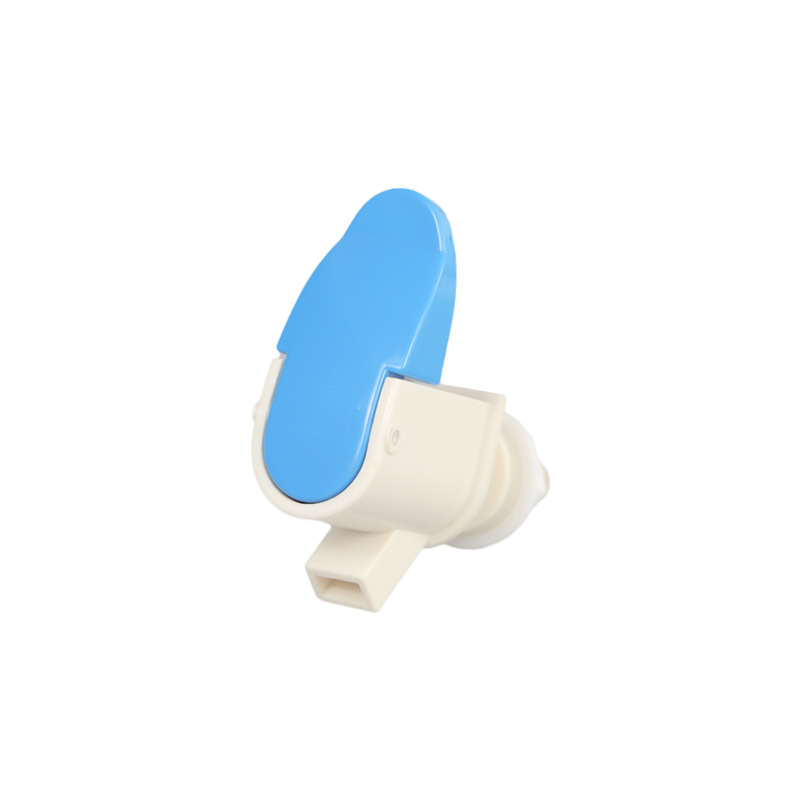
Common Types of Water Dispenser Faucets and Their Connection Needs
Not every water dispenser faucet is built the same way, and the type of dispenser installed affects which connection size and fitting style is needed.
Countertop-mounted dispenser faucets
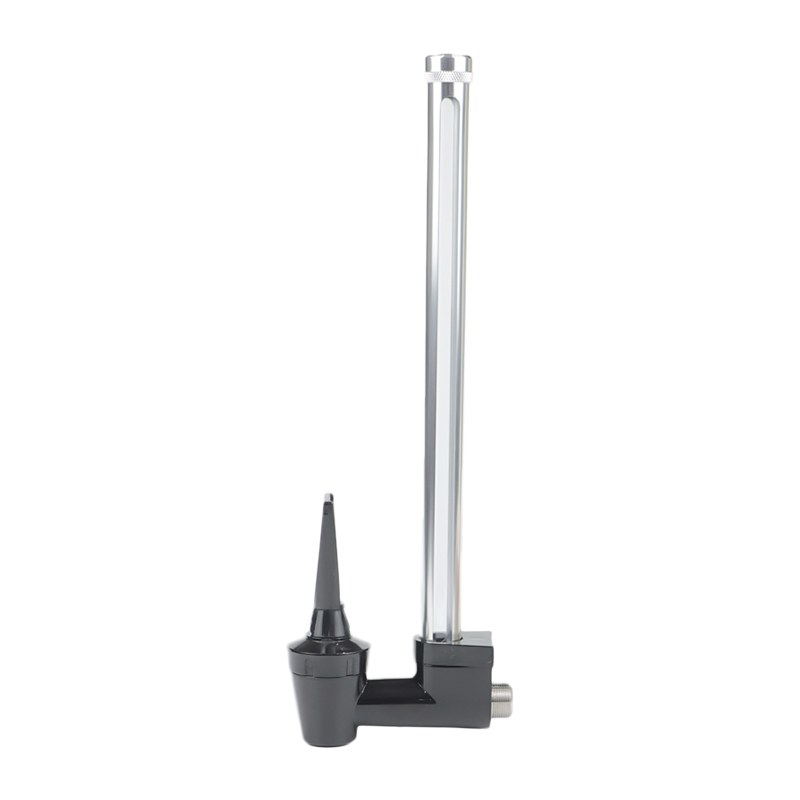
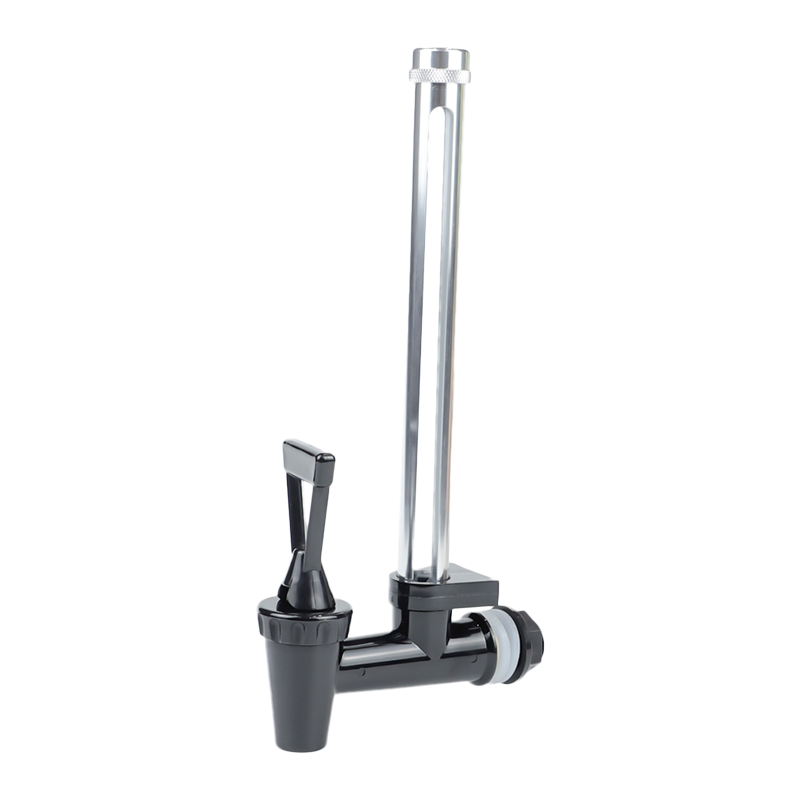
These are the most common style, mounted through a small hole in the sink deck or countertop next to the main faucet. They almost always use a 1/4 inch tubing connection paired with a narrow mounting shank, and are the easiest style to retrofit into an existing kitchen.
Air gap dispenser faucets
Used with under-sink reverse osmosis systems, an air gap faucet includes an extra port that vents the drain line, in addition to the drinking water line. This means it has two tubing connections instead of one, and the drain-side tubing is often a slightly different diameter than the supply-side tubing, so the two should not be assumed to be interchangeable.
Non-air-gap dispenser faucets
These skip the extra vent port and use a single supply connection, generally 1/4 inch, which simplifies installation but relies on a check valve elsewhere in the system to prevent backflow.
Instant hot and cold dispenser faucets
These combine a drinking water dispenser with an instant hot water tank. The cold or filtered side typically still uses a 1/4 inch connection, while the hot water tank inlet may use a slightly larger fitting, often 3/8 inch, since it also needs to connect to a standard cold water supply line to feed the tank.
Refrigerator and built-in appliance water lines
Refrigerator ice makers and built-in beverage dispensers use the same 1/4 inch tubing standard as most countertop dispenser faucets, which is why the same saddle valve or tee fitting can often serve both a refrigerator line and a dispenser faucet from a single supply point.
How to Measure Your Faucet Connection Size Correctly
Measuring before ordering a fitting or adapter prevents the most common installation mistake: buying a part that is close in size but does not seal properly.
Step by step measurement
- Turn off the water supply and disconnect the existing line before measuring, to avoid injury or water loss.
- Measure the outer diameter of the tubing or pipe using a caliper or a ruler across the widest point, not diagonally across a rounded edge.
- Count the number of thread ridges per inch if the connection is threaded, since this determines whether it is a coarse or fine thread pattern.
- Check whether the thread tapers toward the end, which is typical of NPT fittings, or stays a consistent width, which is typical of straight thread fittings used on some dispenser systems.
- Measure the length of the threaded section as well as the diameter, since some adapters require a minimum engagement length to seal reliably.
- Compare the measurement against the manufacturer specification sheet for the faucet or dispenser, since printed sizes are usually more exact than a visual estimate.
A quick way to sanity check the size at home is to compare the fitting against a coin: a 1/4 inch tube fitting is close to the width of a dime, while a 3/8 inch fitting is closer to the width of a nickel. This is only a rough field check and should not replace an actual caliper measurement before ordering parts.
Tools that make measuring easier
- A digital or dial caliper for outer and inner diameter readings.
- A thread pitch gauge for confirming threads per inch on threaded fittings.
- A small flashlight and inspection mirror for checking connections in tight cabinet spaces.
- A notepad or phone camera to record the measurement immediately, since fittings can look similar once removed from the installation.
Thread Types Commonly Found on Water Dispenser Faucets
Not every connection in a dispenser system is threaded, but where threads are present, the type matters as much as the size.
NPT (National Pipe Taper)
NPT threads taper slightly so that the joint tightens progressively as it is screwed in, which is common on the inlet side of filtration units and some dispenser faucet shanks in North American products.
BSP (British Standard Pipe)
BSP threads are common on faucets and fittings manufactured for European, UK, and many Asia-Pacific markets. A 1/2 inch BSP fitting will not seal correctly against a 1/2 inch NPT fitting even though the nominal size label is identical, because the thread angle and pitch differ. BSP threads use a 55 degree thread angle, while NPT threads use a 60 degree thread angle, which is the underlying reason the two are not cross-compatible without an adapter.
Push-to-connect and compression fittings
These are not threaded in the traditional sense. A push-to-connect fitting uses an internal collet that grips the tubing when inserted, while a compression fitting uses a ferrule that is squeezed against the tubing by a nut. Both are standard on 1/4 inch dispenser lines because they allow tool-free or low-tool installation and easy disconnection for filter changes.
JIS and other regional standards
Some appliances and dispenser components manufactured for certain export markets follow the JIS (Japanese Industrial Standard) thread pattern, which is dimensionally close to BSP in many sizes but is treated as a distinct standard by fitting manufacturers. When sourcing dispenser components internationally, checking whether a part is labeled NPT, BSP, or JIS is a faster way to avoid mismatches than relying on the nominal size alone.
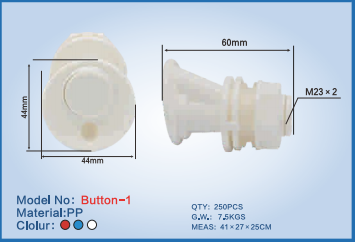
Materials Used in Dispenser Faucet Fittings
The material a fitting is made from affects both how it seals and how long the connection lasts under a sink, where humidity and occasional water contact are common.
| Material | Typical Use | Notes |
|---|---|---|
| Brass | Compression fittings, adapters, valve bodies | Corrosion resistant, holds thread shape well over repeated use |
| Stainless steel | Faucet shanks, braided supply lines | Strong and resistant to pitting, often used where visible |
| Nylon and polypropylene | Push-to-connect bodies, low-cost dispenser kits | Lightweight, resists mineral buildup, generally rated for lower pressure |
| Polyethylene tubing | The tubing itself between the dispenser and the filtration unit | Flexible, widely available in 1/4 inch outer diameter |
A dispenser system does not need to use a single material throughout. It is common, for example, to see a brass compression adapter at the shutoff valve, transitioning into polyethylene tubing, and terminating in a push-to-connect fitting at the dispenser faucet base.
Choosing the Right Adapter or Fitting
When the faucet connection size and the supply line size do not match, an adapter is the correct fix rather than forcing an oversized or undersized fitting into place.
| Mismatch Scenario | Recommended Adapter |
|---|---|
| 3/8 inch valve outlet to 1/4 inch dispenser tubing | 3/8 inch to 1/4 inch reducing compression adapter |
| NPT threaded outlet to push-to-connect tubing | NPT to push-to-connect straight adapter |
| BSP threaded faucet to NPT filtration unit | BSP to NPT thread converter with sealing washer |
| Single supply valve feeding both a dispenser and an ice maker | Dual outlet tee adapter with independent shutoffs |
When sourcing an adapter, matching the base material is also worth checking. Brass adapters are the most widely used for dispenser lines because brass resists corrosion in a wet cabinet environment, while nylon or polypropylene adapters are common on lower-cost dispenser kits and are lighter but generally rated for lower pressure. Mixing dissimilar metals directly at a threaded joint, such as an aluminum fitting threaded straight into a brass valve, is also worth avoiding where possible, since dissimilar metal contact can accelerate corrosion at the joint over years of use.
Pressure and Flow Rate Considerations
Connection size is closely tied to how much water can pass through a fitting per minute, which matters for dispenser faucets because filtration and reverse osmosis systems already restrict flow before the water even reaches the faucet.
- A 1/4 inch line is generally sufficient for a dispenser faucet alone, since drinking and cooking draws are intermittent and low volume compared to a full sink faucet.
- Reverse osmosis systems often include a storage tank precisely because the membrane restricts flow rate significantly, so the tank supplies a quicker burst of water to the faucet rather than relying on real-time flow through the membrane.
- Undersized tubing paired with a long cabinet run can noticeably slow dispenser output even when the fitting size at each end is correct, so tubing length and routing are worth considering alongside the connection size itself.
- Household water pressure is typically much higher than what a dispenser faucet or its tubing needs to handle, which is why a pressure-reducing or restrictor fitting is sometimes built into the supply line ahead of a dispenser connection.
Installation Tips for a Secure Faucet Connection
- Apply thread seal tape or pipe joint compound only to threaded connections, never to push-to-connect or compression fittings.
- Hand-tighten compression nuts first, then use a wrench for a final quarter turn rather than tightening fully by tool from the start, which reduces the risk of cracking a ferrule.
- Support the dispenser faucet shank with the mounting nut evenly so the base does not sit at an angle against the sink deck, which can stress the connection over time.
- Turn the water supply on slowly and check every joint for drips before leaving the installation unattended.
- Keep the tubing length between the shutoff valve and the dispenser faucet as short and straight as practical, since excess coiled tubing inside a cabinet increases strain on the connection points.
- Label or tag the dispenser line if it shares a cabinet with other supply lines, so future maintenance does not require guessing which tube feeds which fixture.
- Leave a small service loop of tubing near the shutoff valve, which makes it easier to pull the faucet or filter forward slightly for future filter changes without disconnecting every fitting.

Maintaining Dispenser Faucet Connections Over Time
A correctly sized connection can still develop problems if it is never inspected. Building a light maintenance habit extends the life of both the fitting and the faucet.
What to check periodically
- Look for mineral crust or white residue forming around compression nuts, which can indicate a slow, ongoing seep rather than a sudden leak.
- Check that tubing has not kinked or been pinched by cabinet items stored nearby, since a kink restricts flow even when the connection itself is intact.
- Confirm the shutoff valve still turns fully, since valves that are rarely used can become stiff and harder to close quickly in an emergency.
- When replacing a filter cartridge, inspect the push-to-connect fittings for scoring on the tubing end, and trim the tubing slightly before reinserting if the end looks worn.
Signs a fitting should be replaced rather than re-tightened
If a compression nut has already been removed and reseated once and still leaks after tightening, the ferrule has likely lost its original seal and should be replaced rather than tightened further, since overtightening a worn ferrule can crack the fitting body instead of solving the leak.
Troubleshooting Common Connection Size Problems
The fitting looks the same size but will not thread on
This is almost always a thread type mismatch rather than a size mismatch, most commonly NPT meeting BSP. Confirm thread pitch with a thread gauge before assuming the part is defective.
The connection tightens but still leaks
Check whether a compression ferrule has been reused after being removed once, since ferrules are generally designed for a single use and can lose their seal the second time they are compressed.
The dispenser faucet shank does not fit the existing sink hole
Sink holes for dispenser faucets are commonly cut to a standard diameter, but shank collars vary by manufacturer. A reducing collar or an expanding grommet can usually close this gap without redrilling the sink deck.
Water flow from the dispenser faucet seems slower than before
Slower flow over time is frequently a filter cartridge nearing the end of its service life rather than a connection size problem, but it is worth ruling out a kink in the tubing or a partially closed shutoff valve first, since both are quicker to check than replacing a filter.
The push-to-connect fitting will not hold the tubing in place
This is often caused by a tubing end that was cut at an angle rather than square, or by tubing that has become slightly oval from being coiled tightly for a long period. Trimming a fresh, square cut on the tubing end before reinserting usually resolves this.
Glossary of Faucet Connection Terms
Nominal size
The rounded, standardized name for a fitting size, used for ordering and compatibility, rather than a literal outer diameter measurement.
Ferrule
A small metal ring inside a compression fitting that is squeezed against the tubing to create a seal when the nut is tightened.
Shank
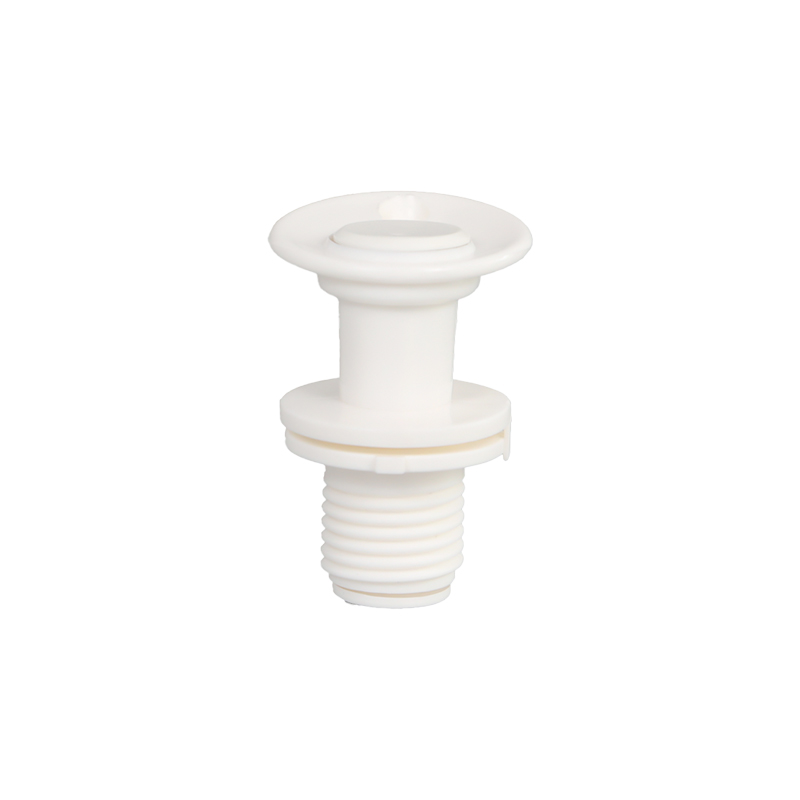
The threaded or smooth tube portion of a faucet that passes down through the sink deck and is secured underneath with a mounting nut.
Air gap
A gap built into certain dispenser faucets that prevents drain water from siphoning back into the drinking water line, typically required alongside reverse osmosis systems.
Push-to-connect fitting
A fitting that grips tubing internally when inserted, allowing tool-free connection and disconnection using a release collar.
Frequently Asked Questions
What size is a standard water dispenser faucet connection?
Most water dispenser faucets connect using 1/4 inch outer diameter tubing on the supply side and a shank close to 1/2 inch for mounting through the sink deck.
Can I connect a water dispenser faucet directly to a 1/2 inch supply line?
Not directly. A reducing adapter is needed to step the connection down from 1/2 inch to the 1/4 inch or 3/8 inch size the dispenser faucet and its tubing are built for.
How do I know if my faucet uses NPT or BSP threads?
Measure the thread pitch and check whether the thread tapers toward the tip. A tapered thread with coarse pitch is usually NPT, while a straight, finer thread is often BSP, though checking the product documentation for country of origin is the most reliable confirmation.
Do all water dispenser faucets use push-to-connect fittings?
No. Many use compression fittings instead, and some higher-end units use a hybrid setup with a threaded inlet paired with push-to-connect tubing further down the line.
Why does my dispenser faucet connection keep loosening over time?
This is often caused by vibration or repeated cabinet movement combined with a connection that was tightened by hand only. A final wrench tightening on threaded and compression joints, without overtightening, generally resolves recurring loosening.
Yes, this is common practice using a dual outlet tee fitting, as long as each outlet has its own independent shutoff so one appliance can be serviced without cutting water to the other.
Does tubing length affect the correct connection size?
The connection size itself does not change with length, but longer runs of narrow tubing can slow flow rate, so keeping runs reasonably short is a practical consideration alongside choosing the correct fitting size.
Is metric tubing compatible with imperial push-to-connect fittings?
Generally no, since the outer diameter difference between common metric sizes and imperial sizes is enough to prevent a secure seal, even when the two appear close in size. Matching tubing and fittings from the same sizing system avoids this issue entirely.