
 English
 русский
 日本語
日本語 عربى
عربى Español
Content
- 1 Sink Faucet Replacement: The Direct Answer
- 2 Signs Your Sink Faucet Needs Replacing, Not Repairing
- 3 Faucet, Tap, or Spigot: Why the Terminology Matters Before You Shop
- 4 Types of Sink Faucets and Matching One to Your Sink
- 5 Faucet Materials and Finishes Compared
- 6 Water Flow and Efficiency Considerations When Choosing a Replacement
- 7 Tools and Materials to Gather Before You Start
- 8 Step-by-Step Sink Faucet Replacement Process
- 9 What a Sink Faucet Replacement Typically Costs
- 10 Mistakes That Turn a Simple Swap Into a Repeat Job
- 11 Troubleshooting Problems After Installation
- 12 When Your Project Also Touches an Outdoor Spigot
- 13 How Faucet Style Fits the Rest of the Room
- 14 Choosing the Right Time to Replace a Sink Faucet
- 15 Maintaining a New Faucet So It Lasts
- 16 Frequently Asked Questions
- 16.1 How long does a sink faucet replacement usually take?
- 16.2 Do I need to turn off the main water supply to replace a faucet?
- 16.3 Can I install a new faucet if my old one used plumber's putty but the new one calls for a gasket only?
- 16.4 Is a spigot the same thing as a faucet?
- 16.5 Why does my new faucet have low water pressure after installation?
- 16.6 Should I replace the supply lines even if the old ones look fine?
- 16.7 What is the difference between a single-hole and a widespread faucet?
- 16.8 Can one person replace a sink faucet alone, or is a second set of hands needed?
- 16.9 Does a lower flow rate mean weaker water pressure?
- 16.10 How do I know if my faucet leak is from the base or the internal valve?
- 16.11 Is it normal for a new faucet handle to feel stiffer than the old one?
- 16.12 What is the most common reason a purchased replacement faucet gets returned?
Sink Faucet Replacement: The Direct Answer
Replacing a sink faucet is a job most homeowners can finish in one to two hours without hiring a plumber, provided the shut-off valves under the sink still work and the new faucet matches the existing hole configuration. The core sequence is always the same: shut off the water, disconnect the old supply lines and mounting nuts, lift out the old faucet, clean the sink deck, then mount and connect the replacement. Where people run into trouble is skipping the prep steps, buying a faucet that does not match their hole spacing, or overtightening plastic mounting nuts until they crack.
This guide walks through every stage of a sink faucet replacement in detail, from recognizing the early warning signs and choosing the right faucet type, material, and finish, through the full installation sequence, realistic costs, troubleshooting after the swap, long-term maintenance, and where the term spigot fits into the picture if your project also touches an outdoor tap. Treat it as a complete reference you can return to at any stage of the project rather than a quick checklist.
Signs Your Sink Faucet Needs Replacing, Not Repairing
Not every drip means a full faucet replacement. A single leaky handle can often be solved with a new cartridge or O-ring for a fraction of the cost. A full swap makes more sense once the fixture shows structural or cosmetic problems that a parts kit cannot fix.
- Rust or green corrosion around the base that will not scrub off, which usually means water has been seeping under the deck plate for months.
- Constant dripping that returns within weeks of a cartridge or washer replacement, a sign the valve body itself is worn.
- Low or inconsistent water pressure at the faucet even though pressure elsewhere in the house is normal.
- A wobbly base or spout that shifts when you turn the handle, which points to stripped mounting threads.
- A discontinued finish or style that no longer matches a remodeled kitchen or bathroom.
- Mineral scale so heavy on the spout and aerator that soaking and scrubbing no longer restores normal flow.
- A cracked or discolored spray hose that keeps slipping out of its dock or no longer retracts.
- Handles that have become stiff, gritty, or difficult to turn even after lubricating the stem.
If two or more of these apply, replacement is usually more cost-effective over a five-year horizon than repeated small repairs, since labor time for repeated fixes adds up faster than a single installation. Faucets also age unevenly: the visible finish can look fine for years while the internal valve or cartridge wears out, so a fixture that still looks presentable is not automatically in good working order.

Faucet, Tap, or Spigot: Why the Terminology Matters Before You Shop
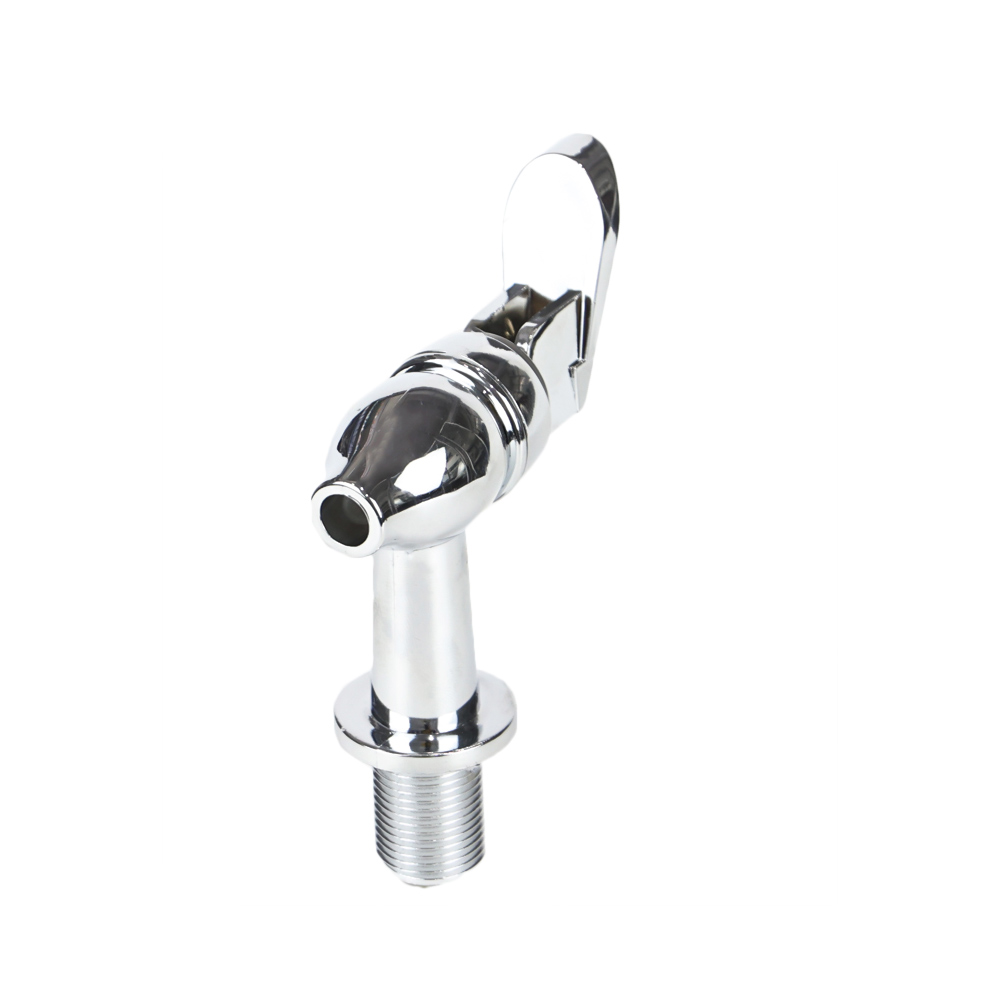
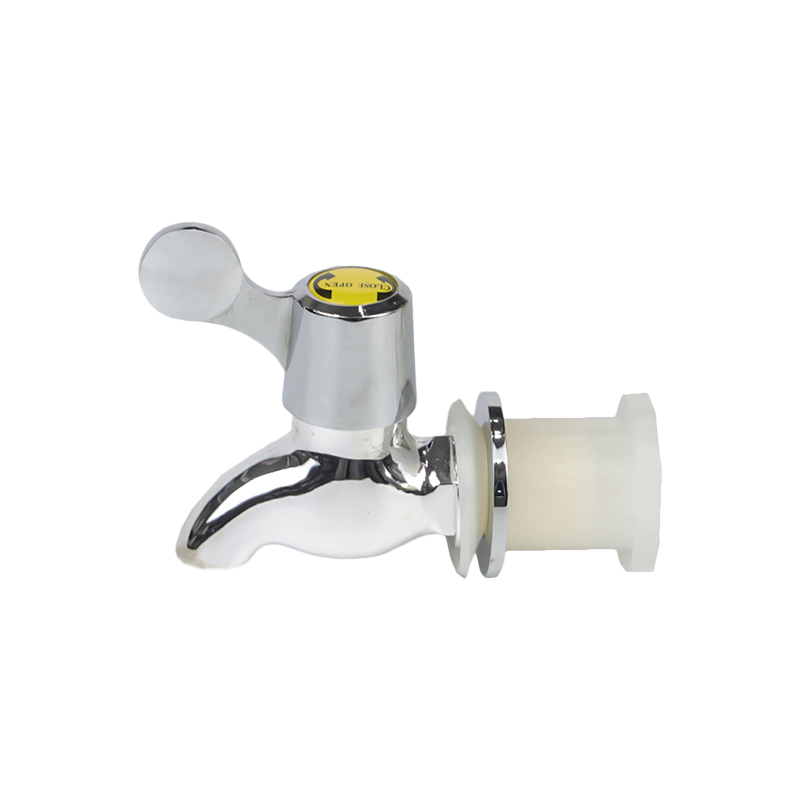
Hardware stores and online listings use faucet, tap, and spigot almost interchangeably, but the terms describe different fixtures and mixing them up leads to ordering the wrong part. A faucet is the indoor fixture at a kitchen or bathroom sink that mixes hot and cold water through a single spout. A spigot is the simpler outdoor fixture, typically a hose bibb mounted to an exterior wall, that supplies a single unmixed line of water for a garden hose, pressure washer, or utility sink.
If your project is limited to the kitchen or bathroom sink, you are shopping for a faucet, and hole spacing, deck thickness, and spout reach are the specifications that matter. If a project note or product listing you are comparing mentions a spigot, that fixture belongs to an outdoor hose bibb or laundry tub line, not the sink itself, and it uses different threading, typically a three-quarter inch hose thread rather than the compression or quick-connect fittings used on sink supply lines. Knowing this distinction upfront prevents a wasted trip back to the store for the correct connector.
The word tap adds a third layer to the confusion. In American English, tap is used loosely for any water outlet, from a kitchen faucet to a beer keg tap, while in British and Commonwealth English, tap is the everyday term for what Americans call a faucet. A spigot, by contrast, keeps a fairly consistent meaning across regions: a basic, single-line outdoor outlet built for utility rather than style.
| Feature | Sink Faucet | Outdoor Spigot |
|---|---|---|
| Typical location | Kitchen or bathroom sink deck | Exterior wall or utility tub |
| Temperature control | Hot and cold mixing | Single cold line, no mixing |
| Connection type | Compression or quick-connect supply lines | Three-quarter inch hose thread |
| Design priority | Finish, style, spout reach | Durability and freeze resistance |
| Common failure point | Cartridge or O-ring wear | Freeze cracking inside the pipe |
Types of Sink Faucets and Matching One to Your Sink
Before buying a replacement, count the number of holes already drilled into your sink or countertop, since that number narrows the compatible faucet styles considerably. Measuring hole spread and deck thickness before shopping is the single step that prevents the most returns.
Single-Hole Faucets
These use one hole and combine the spout and handle into a single unit, which makes them the easiest style to install and the most forgiving if your current sink only has one opening. Many current single-hole kitchen models also integrate a pull-down sprayer without adding extra holes.
Centerset Faucets
Centerset faucets connect the spout and two handles on one base, spanning a standard four-inch hole spread, and are common in bathrooms built in the last few decades. Because the whole unit is one piece, alignment during installation is simpler than with widespread models.
Widespread Faucets
Widespread models use three separate pieces, the spout and two individual handles, connected underneath by flexible tubing. They allow more design flexibility but take longer to install because each piece has its own mounting hardware, and the hole spread can range from six to sixteen inches depending on the model.
Wall-Mount Faucets
Instead of sitting on the sink deck, these faucets mount directly to the wall above the basin, which means the sink itself never needs holes at all. Replacing a wall-mount faucet requires the same valve body spacing as the original, since the water lines run inside the wall rather than under the counter.
Bridge Faucets
A bridge faucet uses a visible horizontal pipe connecting two separate handles to a central spout, giving an older or industrial look that has become popular again in kitchen remodels. Because the bridge sits above the counter rather than under it, these units are usually easier to clean around but require slightly more deck space than a compact single-hole model.
Measuring first and matching hole count second will eliminate roughly 80 percent of return trips to the hardware store, since mismatched hole spacing is the single most common reason a purchased faucet ends up going back.
Faucet Materials and Finishes Compared
The finish on a new faucet affects both appearance and how well it resists the two things that age a fixture fastest: mineral buildup and fingerprints.
Chrome
Chrome remains the most common finish because it is inexpensive, easy to clean, and resistant to tarnishing, though it shows water spots and fingerprints more visibly than matte finishes.
Brushed Nickel
Brushed nickel has a soft, low-glare texture that hides fingerprints and minor scratches better than polished finishes, making it a practical choice for a busy kitchen sink.
Matte Black and Matte White
These finishes have grown popular in recent renovations because they pair well with dark or minimalist cabinetry, though lower-quality coatings can wear at contact points like the handle over several years of daily use.
Polished Brass and Bronze
Brass and bronze finishes carry a warmer tone and are often chosen to match cabinet hardware, but living finishes in this category are designed to develop a patina over time rather than stay perfectly uniform.
On the body construction side, solid brass valve bodies resist corrosion and hold up to daily use better than zinc alloy bodies, which is why brass construction is generally listed as a mark of a longer-lasting faucet even when the exterior finish looks identical to a lower-cost alternative.

Water Flow and Efficiency Considerations When Choosing a Replacement
Modern faucets are built around a maximum flow rate, most commonly 1.5 gallons per minute for standard kitchen and bathroom models, down from the 2.2 gallons per minute that was typical in older fixtures. A lower flow rate does not necessarily mean weaker-feeling water pressure, since aerator design mixes air into the stream to maintain a full feel while using less water.
Faucets built with a WaterSense-labeled aerator are worth considering if reducing water use or a utility bill is part of the motivation for replacing the fixture, since these models are independently tested to maintain adequate flow at a lower gallons-per-minute rating. For households on well water or with older, lower-pressure plumbing, checking the minimum operating pressure listed on the box avoids installing a faucet that never reaches its rated flow.
Tools and Materials to Gather Before You Start
Having everything on hand before shutting off the water keeps the job to a single session instead of stretching it across a weekend while you wait for a missing part.
- Adjustable wrench and a basin wrench for reaching mounting nuts in tight cabinet spaces
- Bucket or shallow pan to catch residual water in the supply lines
- Plumber's putty or silicone sealant, depending on what the new faucet's instructions specify
- Plumber's tape (PTFE tape) for threaded connections
- Flashlight or headlamp, since most of the work happens in a dim cabinet
- New flexible supply lines, even if the old ones look fine, since reused lines are a common source of slow leaks after installation
- Rags or an old towel to line the cabinet floor
- Penetrating lubricant for stubborn, corroded mounting nuts
- Small container or bag to keep loose screws and clips organized during disassembly
- Kneepad or folded towel for comfort while working under the sink
Read the new faucet's installation sheet in full before starting, since some models include a mounting system that differs from the wing nuts and washers used on older fixtures, and knowing this ahead of time avoids stopping mid-job to look up an unfamiliar part.
Step-by-Step Sink Faucet Replacement Process
- Shut off the hot and cold valves under the sink by turning them clockwise, then open the faucet to release any pressure left in the lines. If the shut-off valves will not fully stop the flow, which is common in older homes, close the main water supply instead.
- Place a bucket underneath, then disconnect the supply lines from the shut-off valves using an adjustable wrench. Expect some residual water to drip out.
- Use a basin wrench to loosen the mounting nuts holding the old faucet to the sink deck. These connections are often corroded, so a penetrating lubricant applied a few minutes beforehand makes this step considerably easier.
- Lift the old faucet out from above once the mounting hardware is free, then scrape away old putty, silicone, or mineral deposits from the sink deck. Inspect the deck for cracks or soft spots and address any damage before installing the new fixture.
- Assemble the new faucet's gasket or deck plate over the mounting holes and feed the supply hoses through from above. Many current single-handle kitchen and bathroom faucets ship with hoses pre-attached, so check the box contents against the included instructions before starting.
- Secure the faucet from underneath with the new mounting nuts, tightening evenly and by hand first so the base does not shift out of alignment, then finish with a wrench until snug. Avoid overtightening, especially on plastic nuts, which crack under excess torque.
- Connect the new supply lines to the shut-off valves, hand-tightening before giving each connection a final quarter turn with a wrench.
- Turn the water back on gradually and check every connection for drips. Run the faucet without the aerator installed for about a minute to flush out any debris from the new lines, then attach the aerator and do a final leak check after ten minutes of normal use.
- Cycle the handle through hot, cold, and mixed positions several times, checking that temperature response feels immediate and that the handle does not bind at either end of its travel.
- Wipe down the sink deck and cabinet interior, then do a final visual check an hour later and again the next day, since some slow leaks only appear after the connections have settled under normal water pressure.
If the faucet includes a separate sprayer or pull-down hose, mount the base first, then feed the hose through the faucet body from below before final tightening. Attach the counterweight at the position specified in the instructions, usually ten to twelve inches from the spray head, so the hose retracts smoothly instead of hanging loose in the cabinet. Test the sprayer's pull and retraction several times before considering the installation finished.
What a Sink Faucet Replacement Typically Costs
Material cost depends heavily on features, while labor cost depends on whether you hire a professional or complete the swap yourself.
| Item | Typical Range |
|---|---|
| Basic manual faucet | 70 to 150 dollars |
| Midrange pull-down kitchen faucet | 150 to 350 dollars |
| Touch-activated or filtered models | 300 to 900 dollars |
| Widespread bathroom faucet set | 150 to 450 dollars |
| Professional installation labor | 130 to 350 dollars |
| Add-on for corroded shut-off valves | 30 to 60 additional minutes of labor |
| New flexible supply lines (pair) | 10 to 25 dollars |
Doing the work yourself mainly saves the labor portion, since the parts cost is identical either way. A straightforward single-hole swap with accessible, functioning shut-off valves is one of the more approachable DIY plumbing jobs, while widespread faucets, a first-time installation with a sprayer, or corroded valves are where many homeowners choose to bring in a professional.
Regional labor rates, the age of the home's plumbing, and whether the countertop material makes the mounting holes harder to reach all shift the final number. A stone countertop with a tight cabinet opening, for example, often adds time compared with a laminate counter where the basin wrench has clear access from below.
Mistakes That Turn a Simple Swap Into a Repeat Job
Most sink faucet replacement failures trace back to a short list of avoidable errors rather than a defective part.
- Applying plumber's putty under a faucet base designed for a rubber gasket only, which can also stain or absorb into natural stone countertops.
- Reusing old, brittle supply lines instead of installing new ones, which often leak within weeks of the new installation.
- Overtightening mounting nuts, particularly plastic ones, which crack under excess force and cause the base to loosen later.
- Skipping the flush step, leaving manufacturing debris trapped in the aerator and reducing flow immediately after install.
- Ignoring a damaged or soft sink deck, since a new faucet cannot compensate for a compromised mounting surface underneath it.
- Not measuring the new faucet's base footprint against old caulk lines or discoloration, leaving visible gaps or marks around the new fixture.
- Mixing up the hot and cold supply line connections, which reverses the temperature response at the handle.
- Forgetting to check that braided supply lines are not kinked or twisted before final tightening, which restricts flow even after everything is connected.
Troubleshooting Problems After Installation
A new faucet occasionally behaves oddly for the first day or two, and most of these issues have a simple, identifiable cause rather than pointing to a defective unit.
Dripping From the Spout
Check that the cartridge or valve seated fully during assembly, since a partially seated cartridge is a common cause of a persistent, slow drip right after installation.
Sputtering or Spitting Water
This is almost always trapped air in the newly connected lines. Running the faucet for a full minute with the aerator removed usually clears it completely.
Handle Feels Loose or Wobbly
A loose handle usually means the set screw underneath the decorative cap needs another turn with an Allen key, a five-minute fix that does not require disassembling the faucet body.
Leak at the Base Rather Than the Spout
This points to the mounting nut or gasket rather than the internal valve. Confirm the nut is snug and that the gasket sits flat and uncreased against the sink deck.
Water Only Comes Out Hot or Only Cold
Revisit the supply line connections under the sink, since the hot and cold lines are often swapped by mistake during a first-time installation.

When Your Project Also Touches an Outdoor Spigot
Kitchen and bathroom remodels sometimes overlap with replacing an exterior spigot, particularly when a home is being prepped for a season change or a hose bibb has started dripping or freezing. A spigot replacement follows a related but distinct process: shut off the interior valve feeding that line, drain the pipe fully, unscrew the old spigot from the wall-mounted pipe fitting, wrap the new spigot's threads with plumber's tape, and hand-tighten before a final turn with a wrench. Unlike an indoor faucet, a spigot has no cartridge or mixing valve to align, which is why the labor cost for a spigot swap tends to sit at the lower end of typical plumbing labor rates.
In colder climates, choosing a frost-free spigot, which places the actual shut-off valve further back inside the heated wall cavity, prevents the freeze damage that shortens the life of standard outdoor spigots. If you are replacing both an indoor faucet and an outdoor spigot in the same project, tackle the indoor work first, since it typically requires the main or branch shut-off valve to stay closed longer.
Before the first hard freeze each year, disconnecting garden hoses from the spigot and, where the fixture allows it, opening an interior bleeder valve to drain remaining water reduces the odds of the same spigot needing replacement again the following spring.
How Faucet Style Fits the Rest of the Room
Because a faucet is one of the most touched and most visible fixtures in a kitchen or bathroom, its shape and finish influence the room's overall feel more than its relatively small size would suggest.
A taller, gooseneck-style spout gives more clearance for washing large pots and pans, which matters more in a kitchen than a bathroom. A lower-profile spout suits a bathroom vanity where clearance to a mirror or shelf above is limited. Matching the faucet finish to cabinet hardware and light fixtures in the same room, rather than only to the sink itself, tends to produce a more cohesive result than choosing the faucet in isolation.
Spout reach also matters functionally, not just visually. A spout that does not extend far enough over a deep kitchen sink forces water to hit the back wall instead of the basin, while one with too much reach can splash past a shallow bathroom sink.
Choosing the Right Time to Replace a Sink Faucet
Replacing a faucet before it fails completely, rather than waiting for a total breakdown, gives more control over timing and avoids an emergency purchase at whatever price and selection happens to be available that day. Many homeowners plan the swap alongside a broader kitchen or bathroom refresh, since the sink deck is already exposed for cleaning or resealing at that point.
Weekday mornings tend to be the easiest time to schedule the work, since it leaves the rest of the day available if an unexpected issue, such as a seized shut-off valve, extends the job. Avoiding a Friday evening start is a small but practical scheduling habit, since hardware stores and plumbing suppliers are less likely to be open if an extra part turns out to be needed.
Maintaining a New Faucet So It Lasts
A properly installed faucet from a reputable manufacturer typically lasts 10 to 15 years with routine care. A handful of habits extend that lifespan noticeably.
Clean the Aerator Every Few Months
Mineral buildup inside the aerator screen is the most common cause of reduced flow that gets mistaken for a failing faucet. Unscrewing it and soaking it in a vinegar solution restores flow in most cases.
Wipe Down the Base Regularly
Standing water around the base accelerates corrosion at the mounting hardware, the same failure mode that often triggers a replacement in the first place.
Check Under-Sink Connections Once a Year
A quick look at the supply lines and shut-off valves catches slow leaks before they damage cabinetry, and confirms the valves will actually work the next time a repair or replacement is needed.
Avoid Abrasive Cleaners on the Finish
Scouring powders and abrasive pads dull matte and brushed finishes faster than a soft cloth with mild soap, shortening the visual lifespan of the fixture even while the internal parts remain fine.
Exercise the Shut-Off Valves Periodically
Turning the hot and cold valves closed and open once or twice a year keeps them from seizing, so they are ready to work the next time a faucet needs quick attention.
Frequently Asked Questions
How long does a sink faucet replacement usually take?
Most single-hole or centerset replacements take one to two hours for someone doing basic DIY plumbing, assuming the shut-off valves work and no additional repairs to the sink deck are needed. Widespread faucets or jobs involving corroded valves can take three hours or more.
Do I need to turn off the main water supply to replace a faucet?
Not usually. The dedicated hot and cold shut-off valves under the sink are enough in most homes. The main supply only needs to be closed if those valves are seized, leaking, or missing.
Can I install a new faucet if my old one used plumber's putty but the new one calls for a gasket only?
Yes. Follow the new faucet's included instructions rather than repeating what the old fixture used, since some finishes and countertop materials react poorly to traditional putty.
Is a spigot the same thing as a faucet?
No. A spigot generally refers to an outdoor fixture, such as a garden hose bibb, that supplies a single unmixed cold water line, while a faucet is the indoor kitchen or bathroom fixture that mixes hot and cold water. The two use different connection threading and are not interchangeable parts.
Why does my new faucet have low water pressure after installation?
This is almost always trapped debris in the aerator from the installation process. Remove the aerator, rinse it clean, and run the faucet again before assuming the fixture itself is defective.
Should I replace the supply lines even if the old ones look fine?
Yes, in most cases. Flexible supply lines are inexpensive relative to the labor already invested in the swap, and reused lines are one of the most common sources of a slow leak appearing weeks after installation.
What is the difference between a single-hole and a widespread faucet?
A single-hole faucet combines the spout and handle into one unit through a single opening, while a widespread faucet uses three separate pieces connected underneath by flexible tubing, spanning a wider hole layout on the sink or countertop.
Can one person replace a sink faucet alone, or is a second set of hands needed?
A single person can complete the job. A basin wrench is specifically designed to let one person reach and turn mounting nuts in tight cabinet spaces without help.
Does a lower flow rate mean weaker water pressure?
Not necessarily. Modern aerators mix air into the stream so a faucet rated at 1.5 gallons per minute can still feel full and strong, especially compared with older fixtures that relied purely on volume.
How do I know if my faucet leak is from the base or the internal valve?
Dry the base and spout completely, run the faucet, and watch where water first appears. Moisture pooling around the base points to the mounting gasket or nut, while dripping from the spout itself points to the internal cartridge or valve.
Is it normal for a new faucet handle to feel stiffer than the old one?
A slight stiffness is common for the first few days as internal components settle, but a handle that remains difficult to turn after a week is worth checking for an overtightened retaining nut.
What is the most common reason a purchased replacement faucet gets returned?
Mismatched hole spacing or hole count between the new faucet and the existing sink or countertop is the most frequent reason, which is why measuring the current setup before shopping is worth the extra few minutes.