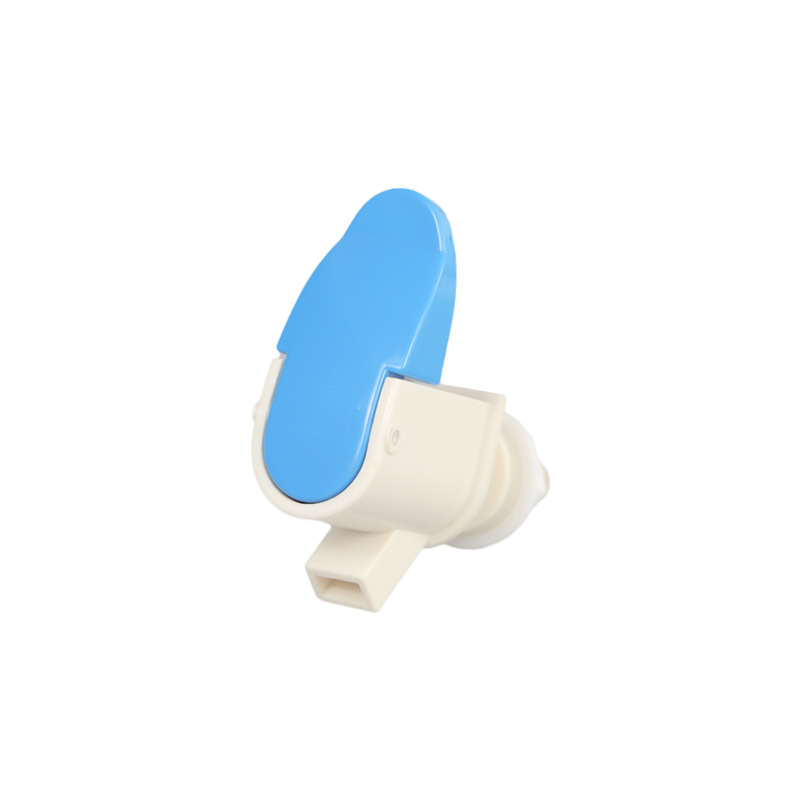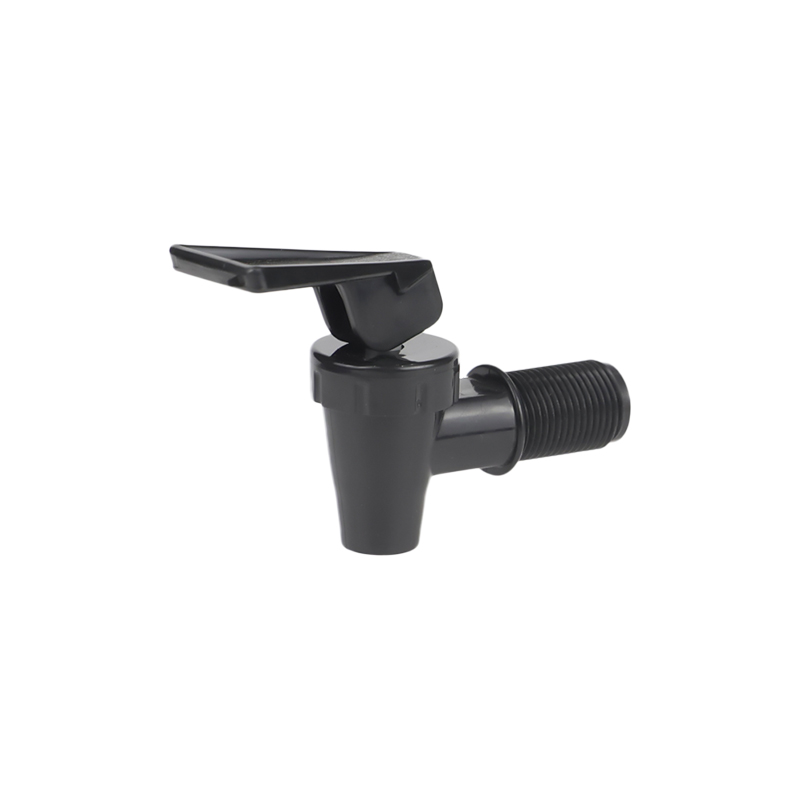

 English
 русский
 日本語
日本語 عربى
عربى Español
Content
- 1 What Are Tube Fittings in Water Dispensing and Beverage Equipment?
- 2 The Main Tube Fitting Types You Will Encounter
- 3 Material Selection: Match the Fitting to the Liquid
- 4 Sizing: How Tube OD, Tube ID, and Thread Size Work Together
- 5 Installation and Assembly: Building a Joint That Does Not Leak
- 6 Common Tube Fitting Mistakes and How to Avoid Them
- 7 How to Choose the Right Tube Fitting: A Decision Sequence
- 8 Frequently Asked Questions About Tube Fittings
- 8.1 Can I connect any silicone tube to any plastic faucet?
- 8.2 What thread size do water dispenser faucets normally use?
- 8.3 My quick-connect fitting leaks even though the tube OD is correct. What is wrong?
- 8.4 How often should I replace silicone tube and fittings in a commercial setting?
- 8.5 Can hot water be used with silicone tube and universal quick-connect fittings?
- 8.6 I reused a tube that had slipped off a barb. Is that acceptable?
A restaurant owner ordered twelve metal spigots and a 50-meter spool of silicone tube from two different suppliers. On installation day, the plumber discovered that the spigot threads were G1/2 while the pre-drilled holes on the beverage tanks were cut for NPT, and the silicone tube inner diameter matched the barb outer diameter exactly, so the tube slid on and off with almost no grip. What should have been a one-day job took three days, and half the parts had to be reordered.
The direct conclusion is this: in water dispensers and beverage dispensing equipment, tube fittings cause more leaks than any other component, and almost every failure comes down to four controllable choices: fitting type, material, size, and assembly technique. When those four choices are made correctly, a tube connection will outlast the equipment around it.
This guide explains those choices for anyone who buys, installs, or maintains water dispenser faucets, 5-gallon bottle pumps, coffee urn spigots, metal beverage dispensers, silicone tube lines, and syrup pumps. Each section states the practical answer first, then gives the details that keep it working.
What Are Tube Fittings in Water Dispensing and Beverage Equipment?
A tube fitting is any mechanical joint that connects a tube to a faucet, a pump, a tank, or to another tube. In drinking-water equipment, the most common tube fittings are the barbed inlet on a plastic faucet, the threaded shank on a metal spigot, the quick-connect outlet on an electric bottle pump, and the molded three-way or four-way silicone branch that splits one water source into several taps.
Fittings matter because they carry pressure, temperature change, and cleaning cycles at the same time. A gravity-fed water dispenser faucet works at nearly zero pressure, but a USB bottle pump can deliver water much faster, and a hot-water tap adds thermal expansion. A fitting that behaves well in one situation can fail in another.
The typical connection points in this product category are:
- Faucet inlet to silicone supply tube
- Water bottle pump discharge to the dispensing tube
- Metal spigot threaded into a glass or stainless steel beverage container
- Coffee urn spigot to a short beverage line
- Syrup pump body to a bottle or bag-in-box container
- Threaded faucet mounted on a 5-gallon bottle rack
Every joint is a potential leak, but a correctly selected joint is also the cheapest insurance in the whole system.
The Main Tube Fitting Types You Will Encounter
Practically every drinking-water or beverage connection on the market falls into one of five families: barbed, threaded, quick-connect, multi-way molded silicone, and compression. You choose among them based on how the connection is assembled, disassembled, and cleaned.
Barbed push-on connections
A barbed connection works by pushing a flexible tube over a tapered ridge. The tube stretches slightly, and the ridge creates the seal. This is the most common connection on plastic water dispenser faucets, where the faucet inlet is molded as a barb and a silicone tube carries water from the bottle or cooler. Choose a tube inner diameter slightly smaller than the largest diameter of the barb. Too large and water leaks; too small and the tube cracks when forced.
Threaded connections
Threaded fittings connect a faucet or spigot into a tank, a bottle rack, or a machine panel. The two major families are parallel threads such as G series (G1/2, G3/8) and tapered threads such as NPT. G threads seal with a gasket or O-ring and do not need sealant to hold pressure; NPT threads seal by the wedging action of the taper and normally need a sealant or tape. They look similar, but mixing a G male into an NPT port is one of the most common purchasing mistakes in beverage equipment.
Quick-connect and push-to-connect couplers
These are common on USB water bottle pumps, where the user inserts a clean tube into the pump outlet with no tool. A small collet inside grips the tube by its outer diameter. The tube OD has to match the coupler size exactly, and the tube end has to be cut square. Many leaking quick-connect joints are simply poorly cut tube ends.
Multi-way molded silicone branches
Three-way and four-way silicone tubes are molded as one piece rather than assembled from separate elbows. They split one pump outlet into two faucets, or one bottle line into three picnic taps. Because there are no extra joints, they have fewer leak paths than a pile of adapters. The limitation is that the branch sizes are fixed by the mold, so you must select the branch inner diameter to fit your barb.
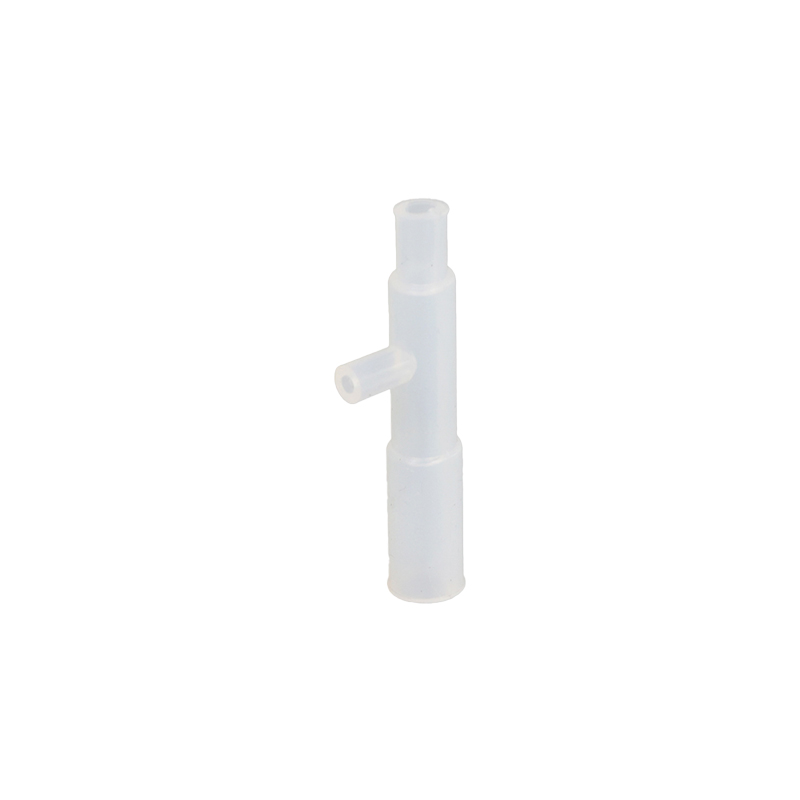 Food-Grade Silicone Tubing for Beverage and Water Dispensing LinesThis flexible, clear silicone tube suits homebrew, kegerator, and drinking water setups. Its molded branch design reduces leak points, making it a practical choice when splitting one line into multiple taps.View Product →
Compression-type fittings
Compression fittings squeeze a ferrule around a rigid tube, usually metal or nylon. They are more common in industrial lines and less common inside water dispensers, but you will see them on stainless steel beverage coils and some commercial coffee equipment. Assembly torque matters: too little and the tube pulls out, too much and the ferrule deforms and blocks the bore.
| Fitting type | Typical use | Main risk |
|---|---|---|
| Barbed push-on | Faucet inlet to silicone tube | Tube ID mismatched to the barb |
| Threaded (G or NPT) | Spigot to tank, faucet to bottle rack | Mixed thread standards |
| Quick-connect | Electric bottle pump outlet | Tube end not cut square |
| Multi-way silicone | Split one line into multiple taps | Fixed branch size in the mold |
| Compression | Rigid metal or nylon lines | Over-torque or under-torque |
Material Selection: Match the Fitting to the Liquid
Choose fitting material based on the liquid, the temperature, and the cleaning routine. Appearance is the last factor. A chrome-looking plastic faucet and a stainless steel spigot may look similar in a catalog, but they behave very differently on a hot-water line or in a juice bar.
Plastic fittings: PP, POM, ABS
Most water dispenser faucets and quick-connect bodies are molded from polypropylene (PP), polyoxymethylene (POM), or ABS. These plastics resist corrosion, cost little, and hold their shape in cold and warm water. The decision factor is the hot-water limit. Hot-water taps need a grade that does not soften under repeated hot-water cycles. If you are assembling a water dispenser with a hot tank, use a faucet whose plastic body is rated for hot water.
304 stainless steel
Metal spigots and faucets for juice, coffee, beer, and large beverage containers are usually 304 stainless steel. The main advantage is surface hardness and easy cleaning: juice sugars, tea stains, and coffee oils rinse off a stainless surface more easily than off a plastic one. Stainless also holds tighter thread tolerances, which is why many bottle racks use a stainless threaded tap.
Food-grade silicone tubing
Silicone is the default tube material for drinking-water lines because it stays flexible, resists surface buildup, and handles hot and cold water without hardening quickly. The important specification is the inner diameter, because silicone grips by elasticity. For a fuller look at where this tube works and where it does not, see the manufacturer's note on food-grade silicone tube as a water delivery tube.
Rubber and gasket materials
EPDM and nitrile rubber appear as gaskets and O-rings inside faucets and quick connectors. If a fitting leaks between the body and the nut, the gasket, not the thread, is usually the problem. Always match the gasket size to the thread, and do not overtighten a plastic nut to force a bad gasket to seal.
| Connection point | Common material | What to check before buying |
|---|---|---|
| Plastic faucet inlet | PP, POM, ABS | Hot-water temperature rating |
| Metal spigot shank | 304 stainless steel | Thread type and surface finish |
| Water supply line | Food-grade silicone | Tube ID versus barb OD |
| Quick-connect body | POM, nylon | Tube OD tolerance |
| Gaskets and O-rings | EPDM, nitrile | Fit, elasticity, and seal shape |
Sizing: How Tube OD, Tube ID, and Thread Size Work Together
Size is a system, not a single number. A flexible tube has two meaningful dimensions, outer diameter and inner diameter; a fitting also has two, the barb or collet dimension and the thread size. All four must work together for a reliable joint.
- Tube ID against barb OD. The tube inner diameter must be slightly smaller than the barb outer diameter, typically about 0.5 mm to 1 mm smaller on common dispenser faucet barbs. If the tube ID is larger than the barb, you can clamp it, but the seal is fragile and the tube can slide off. If the tube ID is far too small, the tube will not slide over the barb without damage.
- Tube OD against quick-connect bore. For a push-to-connect coupler, the tube OD must match the coupler rating. A coupler marked for 8 mm tube accepts 8 mm OD tube, not 6 mm, regardless of the inner diameter.
- Thread size and thread family. Measure the outside diameter of the male thread in millimeters. G1/2 (about 20.9 mm) and NPT 1/2 (about 21.3 mm) are easy to confuse by eye, but they are not interchangeable. Use a thread gauge or test-fit a known part before buying.
- Wall thickness. A thin-walled silicone tube working at low gravity pressure is fine; the same tube on a pump outlet may collapse or kink. For pump-fed lines, choose a tube with a thicker wall.
| Thread mark | Typical male OD | Thread form | Seal method |
|---|---|---|---|
| G1/2 | About 20.9 mm | Parallel, 14 tpi | Gasket or O-ring |
| G3/8 | About 16.7 mm | Parallel, 19 tpi | Gasket or O-ring |
| NPT 1/2 | About 21.3 mm | Tapered, 14 tpi | Taper wedge plus sealant |
| NPT 3/8 | About 17.1 mm | Tapered, 18 tpi | Taper wedge plus sealant |
Thread dimensions are given as typical reference values. Always verify the actual port with a thread gauge before placing a large order.
Installation and Assembly: Building a Joint That Does Not Leak
A good fitting can still fail in one minute of bad assembly. The rule is: prepare the tube end, push or screw it fully, seal the thread correctly, and test before putting the equipment into service.
- Cut the tube square. Use a sharp blade or a tube cutter. A diagonal cut leaves a gap on one side of the seal and is the most frequent cause of a new joint dripping.
- Moisten the tube end. Dip the tube end in clean drinking water before pushing it over a barb. Do not use oil or petroleum jelly, because it can attack the silicone and will contaminate the water line.
- Push the tube fully onto the barb. Stop only when the tube reaches the shoulder of the barb. If you can pull the tube off with a light tug, the ID is too large or the barb is too short.
- Add a clamp only where movement or vibration exists. On a pump output or a moving dispensing arm, a stainless hose clamp over the barb area is reasonable. On a fixed gravity line, a clamp is often unnecessary.
- Seal threaded connections correctly. Wrap PTFE tape one to one and a half turns in the direction of the thread, or use a soft rubber gasket for parallel G threads. Multiple extra layers of tape can crack a plastic faucet body.
- Tighten plastic threads by hand plus a quarter turn. Most plastic faucet nuts and quick-connect bodies strip when a plier or wrench is applied with full force.
- Pressure-test the joint. Run water through the assembled line, watch every connection for 30 seconds, then wipe dry and check again. A weeping joint leaves a faint water trace even when it looks dry.
The faucet body itself is part of the fitting equation. A cleanly molded barb and a flat thread seat reduce installation errors because there is less to assemble and less to overtighten.
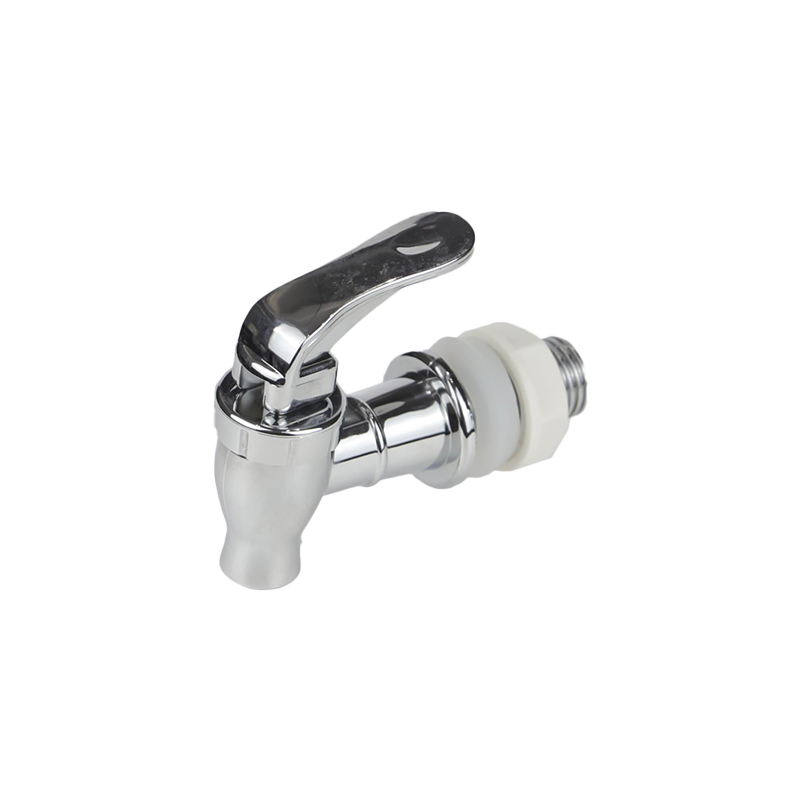
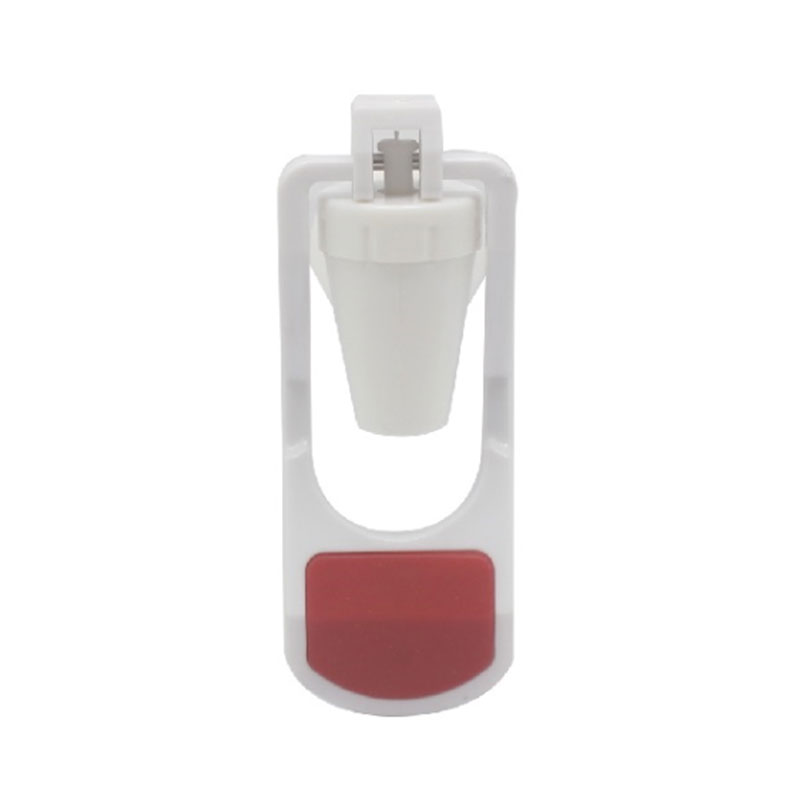 Water Dispenser Faucet with Push Lever for Purifiers and CoolersA cleanly molded barb and flat thread seat simplify installation and reduce overtightening errors. Ideal for water dispensers and purifiers, this faucet offers reliable flow control with a push-lever design.View Product →
Common Tube Fitting Mistakes and How to Avoid Them
Almost every leaking installation is a repeat of one of ten routine mistakes. Read this list before you buy, not after the first leak appears.
- Choosing the tube by outer diameter only. Two tubes with the same OD can have very different IDs. A barb connection cares about ID; a quick-connect cares about OD. Know which side of the fitting you are connecting.
- Forcing a tube onto a barb that is too large. The tube will grip for a day, then crack and drip. If you need tools to push the tube on, change to a larger tube ID.
- Skipping the square cut. A diagonal tube end seats only partially in a quick-connect collet and creates a one-sided leak path.
- Mixing G and NPT threads. G1/2 male into an NPT half-inch port feels tight for about one turn, then either jams or leaks. Check the thread form before assembly.
- Over-tightening plastic nuts. A plastic thread nut has a small torque window. Tighten until snug, then stop.
- Using a steel clamp with excessive force on silicone. The clamp can cut through the tube wall near the barb. Use a smooth-band clamp and partial turns only.
- Reusing an old tube that has set into an oval shape. The seal depends on even contact around the full circumference. An oval tube will leak no matter how tight the clamp is.
- Threading a metal spigot into a plastic tank without a gasket. Metal threads crush plastic ports easily; use the correct rubber gasket or a bulkhead nut.
- Forgetting the release ring on a quick-connect. Pushing a tube into a coupler with the ring removed or jammed prevents the collet from latching.
- Leaving long unsupported tube runs. The weight of the water pulls the joint open over time. Support the line every 50 to 80 cm in permanent installations.
How to Choose the Right Tube Fitting: A Decision Sequence
Work from the liquid back to the port, and you will almost never buy the wrong fitting. A five-step sequence is enough for any water dispenser, bottle pump, or beverage dispenser project.
- Define the liquid and the temperature. Cold water, hot water, syrup, juice, and carbonated drinks all have different flow and cleaning behavior. Hot water is the strictest case because it limits both the plastic grade and the tube material.
- Define the flow path and pressure. A gravity-fed faucet needs no clamp; a pump-fed line needs a secure barb or quick-connect, and possibly a clamp. Note whether the line is hidden behind a panel or exposed to regular tugging.
- Identify the port on each end. Measure the thread or barb. Ask the equipment supplier for the thread size in writing. If the connection ends at a stainless steel tap on a beverage container, the spigot shank determines the tank hole size.
- Select the tube material and sizes. Choose food-grade silicone for drinking-water lines, match the tube ID to the barb, and choose a thicker wall for pump-fed runs.
- Build one sample joint and test it. Install a single assembly with water running for at least an hour before ordering the full quantity or starting production.
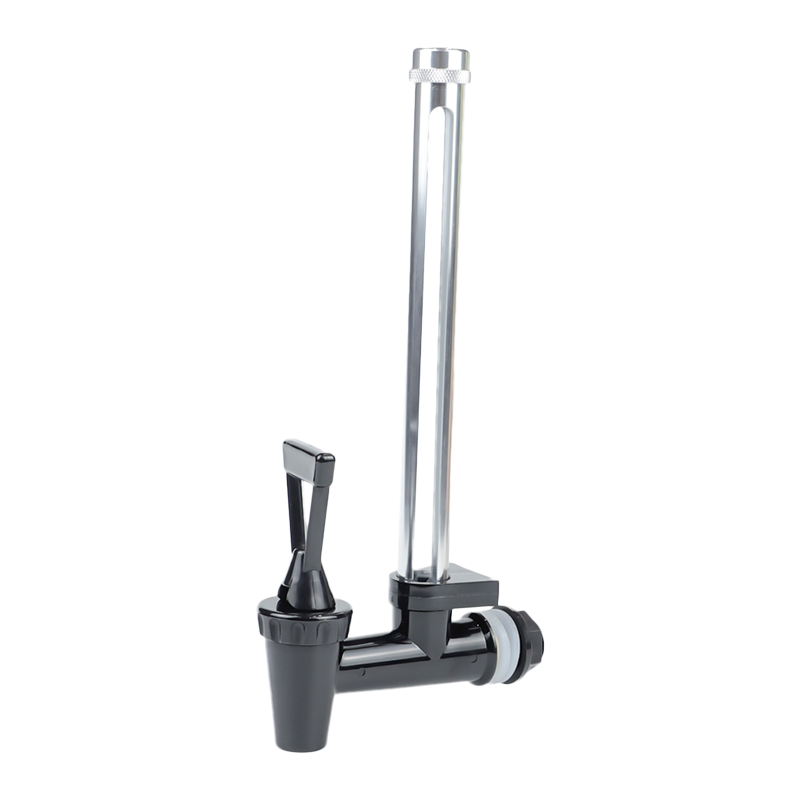
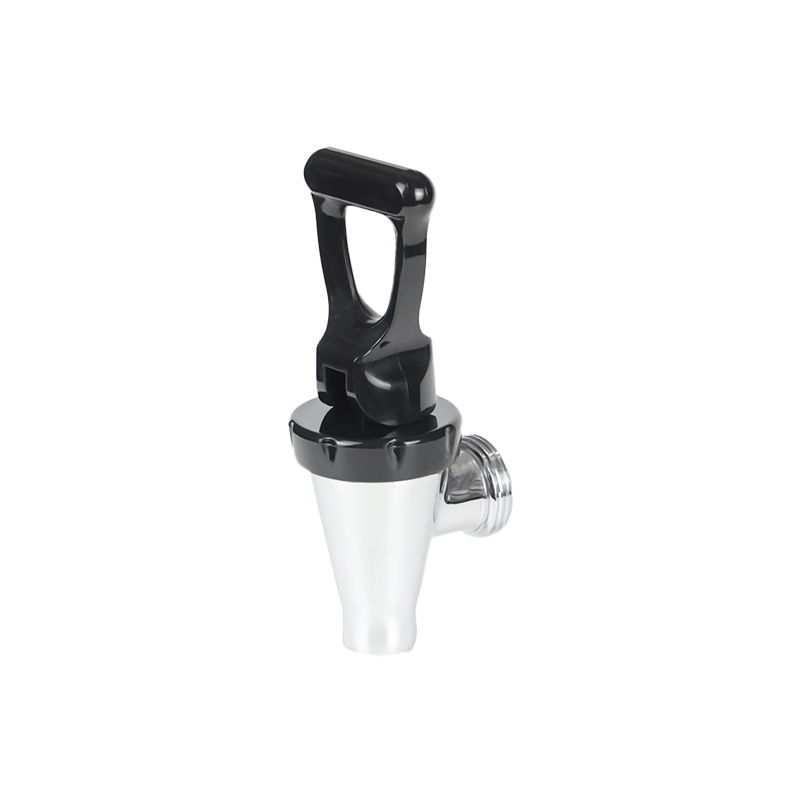 Stainless Steel Beverage Dispenser Spigot for Drinks and FermentsBuilt for daily use with tea, juice, beer, or kombucha, this metal spigot resists wear and leaking. A durable choice when replacing plastic taps, it supports reliable service in beverage dispensing projects.View Product →
If you are planning a full replacement line, the complete product catalogue shows how faucets, metal spigots, silicone tubes, pumps, and bottle racks are organized by application. Comparing the categories side by side will help you confirm thread families, barb sizes, and mounting surfaces before you commit to a purchase.
Frequently Asked Questions About Tube Fittings
Can I connect any silicone tube to any plastic faucet?
No. Measure the barb outer diameter and choose a tube ID about 0.5 mm to 1 mm smaller. If the tube sits loose on the barb, no clamp will make it reliable; if it has to be forced with tools, change to a larger tube ID.
What thread size do water dispenser faucets normally use?
In this product category, parallel G series threads such as G3/8 and G1/2 are the most common on faucet inlets, bottle racks, and tank mounts. Some imported parts use NPT. Never assume from visual size; a thread gauge or a test-fit with a known component is the only reliable check.
My quick-connect fitting leaks even though the tube OD is correct. What is wrong?
The tube end is likely not cut square, or it was not inserted fully until the collet latched. Remove the tube, recut it with a sharp blade, and reinsert until it clicks. Also inspect the tube surface near the seal for scratches, because the collet O-ring seals against that area.
How often should I replace silicone tube and fittings in a commercial setting?
Inspect monthly in a commercial environment. Replace silicone when it loses elasticity, hardens, cracks, or stays deformed after bending. A 6 to 12 month replacement cycle is practical for everyday commercial use; home and light office use can go longer.
Can hot water be used with silicone tube and universal quick-connect fittings?
Silicone itself handles hot water well. The fitting body, however, may not. Check the quick-connect body material and its temperature rating before using it on a hot-water line.
I reused a tube that had slipped off a barb. Is that acceptable?
Not if the inner surface is scratched or the end is deformed. The leak path may not appear until water pressure rises. When in doubt, cut off the damaged section and start with a fresh, square end.