
 English
 русский
 日本語
日本語 عربى
عربى Español
Content
- 1 The Direct Answer: You Can Replace the Cartridge Yourself
- 2 What the Cartridge Does and When It Needs Replacing
- 3 Tools and Preparation
- 4 How to Change the Cartridge in a Kitchen Faucet, Step by Step
- 5 Common Mistakes and How to Avoid Them
- 6 How to Choose the Right Replacement Cartridge
- 7 When to Call a Plumber
- 8 Preventing Future Cartridge Failure
- 9 Frequently Asked Questions
- 9.1 How often should a kitchen faucet cartridge be replaced?
- 9.2 Can I change the cartridge without turning off the water?
- 9.3 How do I know which cartridge my faucet needs?
- 9.4 My new cartridge is installed, but the faucet still drips. What is wrong?
- 9.5 Is a ceramic cartridge better than a rubber one?
The Direct Answer: You Can Replace the Cartridge Yourself
If your kitchen faucet drips from the spout, leaks around the handle, or turns stiffly, the cause is almost always a worn cartridge inside the valve body. You can replace it yourself in 30 to 60 minutes with basic tools. The cartridge typically costs $8 to $60, a fraction of the price of a new faucet or a plumber's visit.
The cartridge is the mixing core that blends hot and cold water inside the faucet. When its ceramic discs or rubber seals wear out, water escapes past them and the tap drips, or the handle becomes hard to move. Replacing the cartridge restores normal function without touching the countertop or the supply plumbing.
- Time needed: 30 to 60 minutes
- Part cost: $8 to $60 per cartridge
- Skill level: beginner-friendly
- Tools: Allen wrench, flathead screwdriver, adjustable wrench
What the Cartridge Does and When It Needs Replacing
The cartridge sits inside the faucet body and controls both flow rate and temperature. It opens when you lift the handle, closes when you lower it, and mixes in every position in between. Two ceramic discs inside the cartridge are ground flat and rotate against each other. Mineral scale, grit, and years of use eventually pit those surfaces, producing a constant drip. The rubber O-rings around the cartridge also harden and crack, which makes water appear under the handle.
| Symptom | What is happening inside | Does a cartridge swap fix it? |
|---|---|---|
| Drip from the spout | Ceramic discs or rubber seals have worn and cannot stop the flow | Yes, in most cases |
| Water leaking under the handle | O-rings on the cartridge body have hardened or cracked | Yes |
| Handle feels stiff or grinds | Mineral scale or debris is jamming the cartridge | Usually, after cleaning or replacement |
| Temperature jumps around | Internal mixing discs are damaged or misaligned | Yes |
| Weak flow from the spout | Clogged aerator, not a bad cartridge | No, clean the aerator first |
If the flow is weak but the handle feels normal, clean the aerator before ordering any part. A clogged aerator mimics a dying cartridge but costs nothing to fix.
Tools and Preparation
Gather everything before you start so the faucet does not sit in pieces while you hunt for a wrench.
Tools You Will Need
- Allen wrench set — to remove handle set screws
- Flathead screwdriver — to pry off the decorative cap
- Phillips screwdriver — for the handle screw
- Adjustable wrench — for the retaining nut
- Needle-nose pliers — for clips and stubborn cartridges
- Plumber's grease — to lubricate new seals
- Old towel and a bucket — to catch leftover water
Preparation Checklist
Turn both shut-off valves under the sink clockwise until they stop. Open the handle fully to drain pressure and confirm the water is off; if water still flows, the shut-off valves are faulty and you must close the main water valve. Close the sink drain, lay down a towel, and take a phone photo of the handle before you disassemble it so you remember how the parts stack.
How to Change the Cartridge in a Kitchen Faucet, Step by Step
Every faucet model is slightly different, but the sequence below fits nearly all single-handle kitchen faucets.
Phase 1 — Removing the Handle and Retaining Nut
- Turn off the water at both shut-off valves, then open the handle to relieve residual pressure.
- Close the drain and place a towel in the sink so small screws cannot fall in.
- Pry off the decorative cap with a flathead screwdriver; the cap usually carries the hot and cold symbol.
- Remove the handle screw with a Phillips screwdriver or Allen wrench and lift the handle straight off. If it sticks, rock it gently.
- Remove the retaining nut with an adjustable wrench, turning counter-clockwise. Some models use a clip; pull it out with needle-nose pliers.
Phase 2 — Extracting the Old Cartridge
- Pull the cartridge straight up with pliers, gripping the stem. If it resists, turn it gently from side to side.
- Thread a cartridge puller over the stem for stuck units; forcing it with a screwdriver can scratch the valve bore and cause a permanent leak.
- Note the part number and the position of the alignment keys before throwing the old cartridge away.
Phase 3 — Installing the New Cartridge and Testing
- Compare the new cartridge with the old one: the body shape, stem width, and number of tabs must match exactly. Keep the hot and cold markers on the same side.
- Apply a thin layer of plumber's grease to the new O-rings and push the cartridge straight down until the tabs seat in the slots. If it will not seat, rotate it 180 degrees.
- Refit the retaining nut by hand, then add a quarter turn with the wrench. Over-tightening can crack a plastic valve body.
- Reattach the handle, screw, and cap. Open the shut-off valves slowly, let the lines fill, and run hot and cold water for 30 seconds. Check the base of the faucet and the cabinet floor for leaks.
Common Mistakes and How to Avoid Them
Cartridge swaps fail in a handful of predictable ways, and nearly all are avoidable. Reviewing the potential issues that can arise during water dispenser faucet replacement and how to avoid them helps, because the same principles apply to any cartridge-based valve.
| Mistake | What goes wrong | How to prevent it |
|---|---|---|
| Not shutting off both valves | Water sprays out when the handle is removed | Turn both valves clockwise and verify by opening the handle |
| Installing the cartridge upside down | Hot and cold are reversed, or the handle will not stop at the right position | Watch the hot and cold indicators before sliding the part in |
| Forcing the old cartridge out | Scratched valve body that leaks permanently | Use a cartridge puller and steady, even pressure |
| Over-tightening the retaining nut | Cracked plastic valve body | Hand-tighten, then only a quarter turn with the wrench |
| Skipping plumber's grease | O-rings roll out of place and leak later | Grease the seals before insertion |
How to Choose the Right Replacement Cartridge
Cartridges are not universal. The replacement must match the valve bore, stem height, and handle splines of your specific faucet. Find the faucet model number, or read the part number stamped on the side of the old cartridge. Most kitchen cartridges cost $8 to $60.
- Faucet brand and model number
- Part number printed on the old cartridge
- Ceramic disc versus rubber seal type
- Body material suitable for hot water
Choose ceramic discs over rubber seals when you can. Ceramic lasts longer and slides with less friction; rubber is more tolerant of nearby debris. Also confirm the cartridge body is rated for hot water. The same quality logic applies to the rest of the water path. If the drip comes from a separate tap on the sink deck, the repair may be a replacement water dispenser faucet instead. Check any soft tubing connected to the faucet as well and fit a food-grade silicone hose before a hardened line bursts.
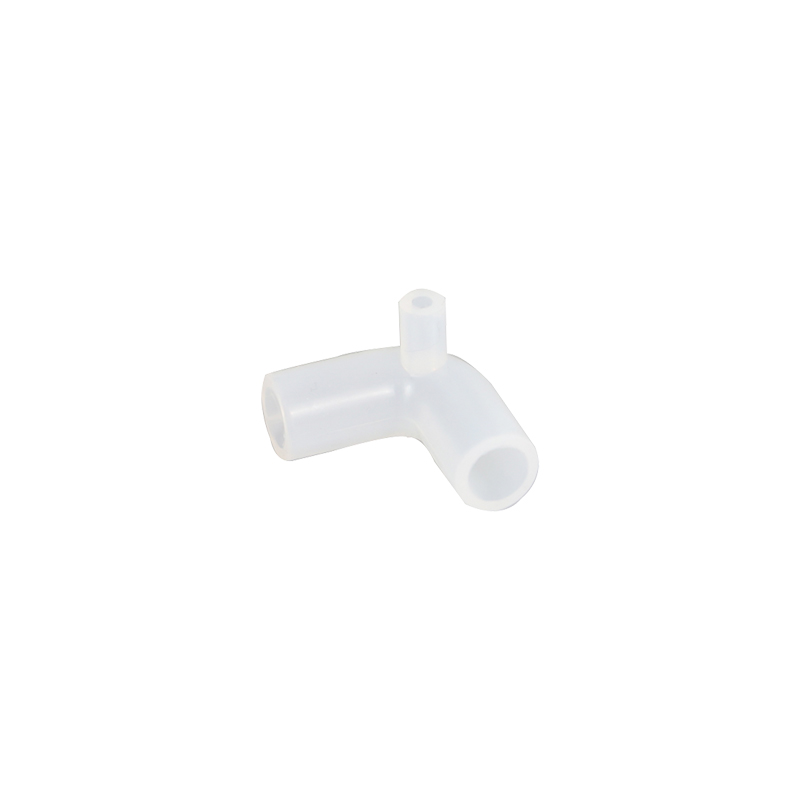
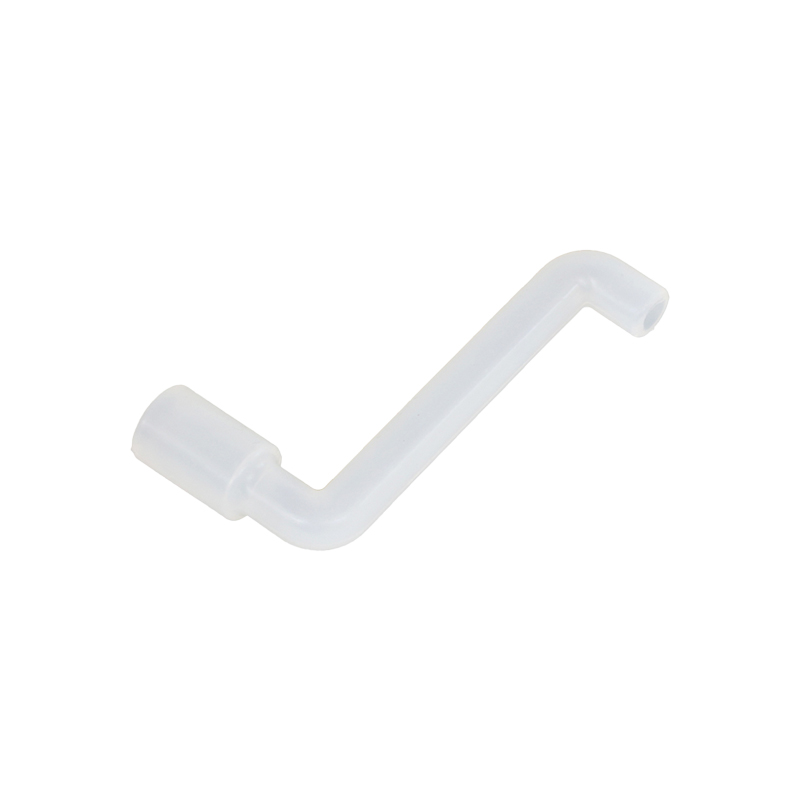 Custom Wholesale Food Grade hose Suppliers, CompanyBoda Electrical Appliances Co.,Ltd is famous China Food Grade hose suppliers, we custom and wholesale worldwide. Used for homebrew andho...View Product →
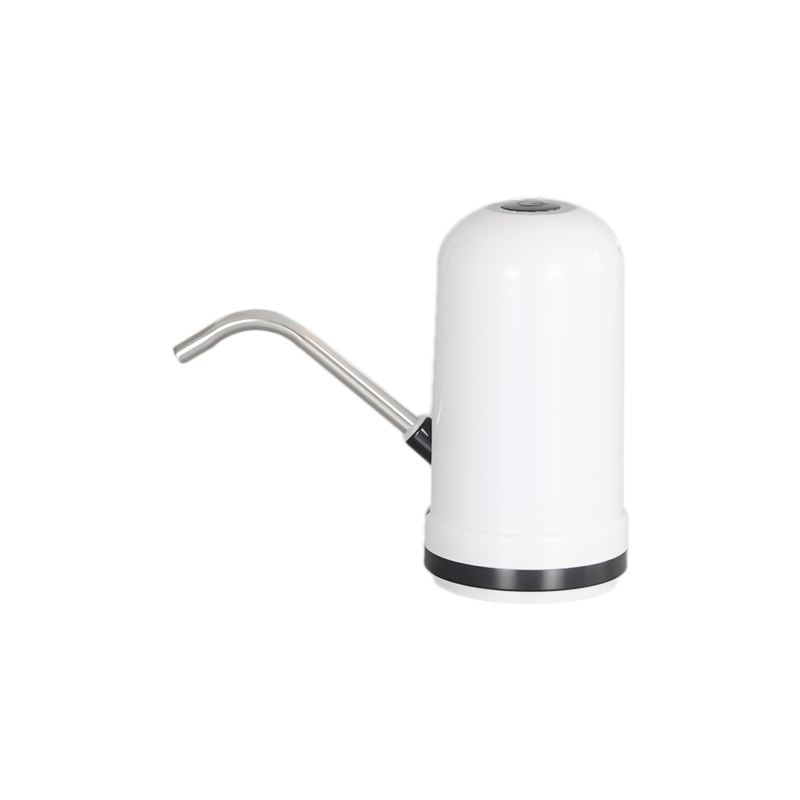
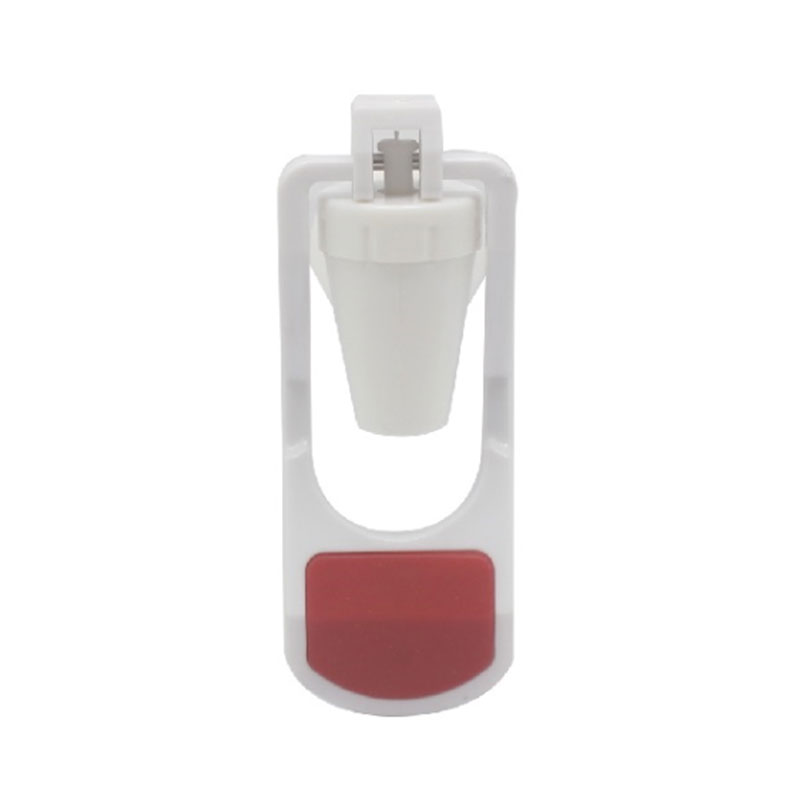 Custom Wholesale Water dispenser faucet Suppliers, CompanyBoda Electrical Appliances Co.,Ltd is famous China Water dispenser faucet suppliers, we custom and wholesale worldwide. Applicability: wa...View Product →
If the valve body itself is damaged, install a completely new unit and follow a water dispenser faucet installation guide for the mounting and supply connections.
When to Call a Plumber
The cartridge swap is safe on the countertop, but some situations are better handled professionally:
- There are no shut-off valves under the sink, or they cannot close completely.
- The old cartridge is fused to the valve body by corrosion.
- The valve body, mounting plate, or supply lines have visible cracks.
- The faucet still leaks after a new cartridge: the fault is then in the valve body, not the cartridge.
- You plan to replace the entire fixture. Review the things to consider when buying a new faucet before purchasing.
Preventing Future Cartridge Failure
Cartridges fail from friction, scale, and debris, so prevention focuses on those three.
- Flush the faucet twice a year: remove the aerator and run full-hot and full-cold water for 30 seconds each.
- Install a basic sediment filter on the water line if your water is hard or gritty.
- Do not hang towels or tools on the handle; the lever is not built for sideways loads.
- Keep supply pressure in the normal 40 to 80 psi range; high pressure wears seals quickly.
- Inspect connected water equipment, such as a beverage jar whose stainless steel tap dispenser
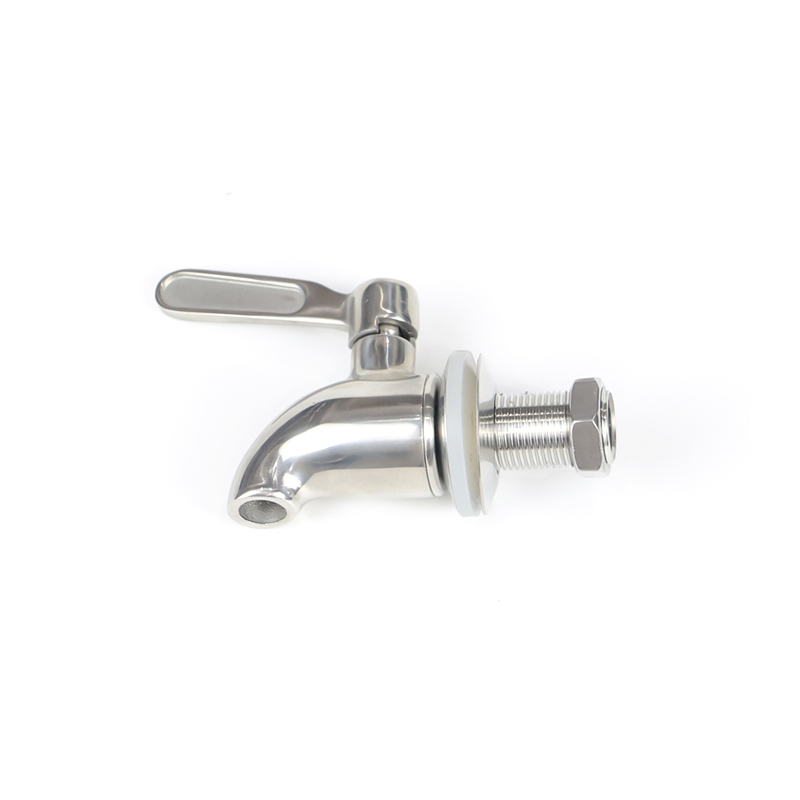
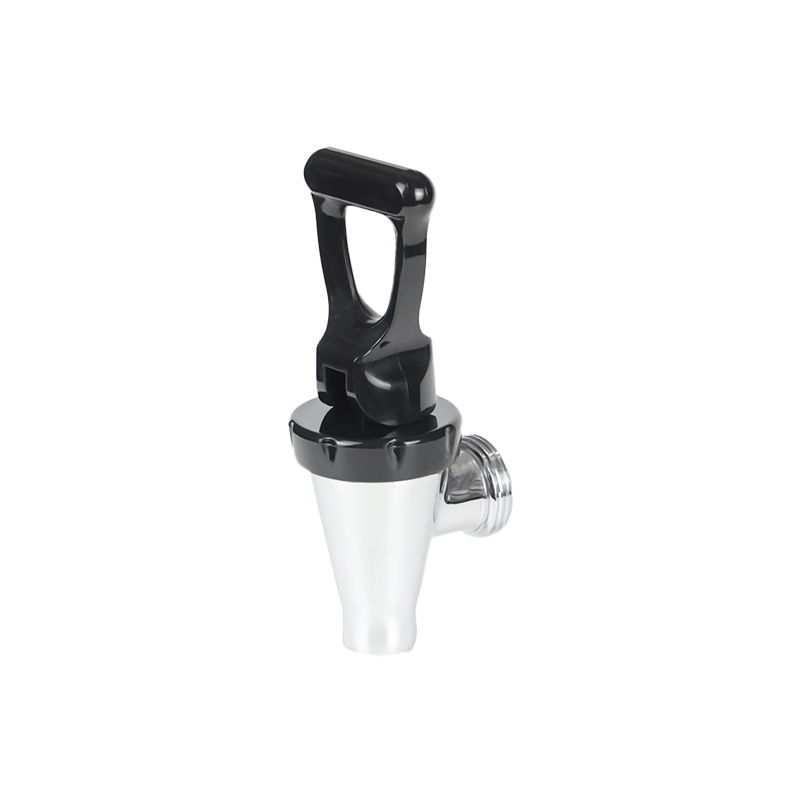 Custom Wholesale Stainless steel tap dispenser Suppliers, CompanyBoda Electrical Appliances Co.,Ltd is famous China Stainless steel tap dispenser suppliers, we custom and wholesale worldwide. Great f...View Product → has seals that dry out just like a cartridge's O-rings.
Frequently Asked Questions
How often should a kitchen faucet cartridge be replaced?
A good ceramic cartridge lasts 10 to 15 years with normal household use. Hard water, sediment, or frequent hot-water use can cut that to five years. Replace it at the first sign of a drip or a stiff handle instead of waiting for cabinet damage.
Can I change the cartridge without turning off the water?
You should not. Once the retaining nut is removed, line pressure will spray water everywhere. Shut off both valves under the sink, open the handle to release pressure, and only then begin.
How do I know which cartridge my faucet needs?
Look for the part number stamped on the old cartridge or search the faucet brand and model. If the number is unreadable, carry the old cartridge to a supplier that stocks replacement water-control parts and compare dimensions directly.
My new cartridge is installed, but the faucet still drips. What is wrong?
Check orientation first; a cartridge seated upside down will not seal. Then confirm the retaining nut is snug but not over-tightened, since a cracked housing also weeps. If both are correct, the wear is inside the valve body itself, meaning the faucet needs to be replaced.
Is a ceramic cartridge better than a rubber one?
For a kitchen, yes. Ceramic discs handle higher temperatures, resist scale better, and slide more smoothly. Rubber cartridges are cheaper and quieter but wear faster in hard water. Choose ceramic unless your supply carries heavy sediment.