
 English
 русский
 日本語
 عربى
 Español
Content
- 1 Tools and Materials for a Clean Filter Faucet Install
- 2 Choosing the Right Filter Faucet for Your Sink or Dispenser
- 3 Step-by-Step Installation of an Undersink Filter Faucet
- 4 Installing a Faucet-Mounted Filter Without Drilling
- 5 Leak Checks, Flushing, and First-Use Tips
- 6 Common Installation Mistakes and How to Avoid Them
- 7 Maintenance After Installation
- 8 Frequently Asked Questions
- 8.1 How long does it take to install a water filter faucet?
- 8.2 Do I need to turn off the main water supply?
- 8.3 What size hole do I need for an undersink filter faucet?
- 8.4 Can I install a filter faucet on a laminate countertop?
- 8.5 Why does my new filter faucet sputter or spray?
- 8.6 Can I use a water filter faucet for hot water?
- 8.7 How do I know if the filter cartridge is installed correctly?
- 8.8 What if the faucet leaks at the base after installation?
A filter faucet that drips at the base or sprays sideways when you turn it on usually points to one of three things: a missing O-ring, a cross-threaded compression nut, or a quick-connect fitting that was not pushed in all the way. The good news is that installing a water filter faucet is a straightforward job that most homeowners can finish in 20 to 40 minutes with a few basic tools. The key is matching the faucet thread to your filter system, sealing every joint correctly, and testing under pressure before you call it done.
This guide covers both the common undersink filter faucet and the faucet-mounted filter that screws onto an existing kitchen tap. You will also see how the same principles apply to dispenser taps used on bottled water coolers, because the connection logic is nearly identical. If you are working on a water dispenser rather than a kitchen sink, you can follow the same sealing and flushing steps and cross-check with this water dispenser faucet installation guide for model-specific differences.
Tools and Materials for a Clean Filter Faucet Install
Before you start, gather these items so you are not crawling out from under the sink every five minutes.
- Adjustable wrench or basin wrench for tight spaces under the sink
- Phillips and flathead screwdrivers
- Tubing cutter or sharp utility knife
- Drill with a 1/2-inch or 7/8-inch bit for an undersink faucet hole
- Teflon tape or pipe thread sealant
- Bucket, towels, flashlight, and safety glasses
For materials, you will need the new filter faucet assembly with its gaskets and nuts, filter system tubing in 1/4-inch or 3/8-inch, quick-connect or compression fittings, and a food-grade silicone tube if you are connecting to a dispenser or non-standard port.
| Connection Type | Typical Thread Size | Best For | Sealing Method |
|---|---|---|---|
| Compression | 3/8 in. or 1/2 in. | Undersink filter faucets | Ferrule and compression nut |
| Quick-connect | 1/4 in. or 3/8 in. | Push-to-fit tubing | O-ring inside the fitting |
| Threaded (NPT) | 1/2 in. NPT | Metal spigots and dispenser taps | Teflon tape or pipe sealant |
| Barbed | 1/4 in. to 1/2 in. | Flexible silicone or vinyl tubing | Hose clamp or push-on friction |
Choosing the Right Filter Faucet for Your Sink or Dispenser
The faucet you choose determines how much work the install will be. A faucet-mounted filter clamps onto your existing kitchen faucet aerator and takes about five minutes. An undersink filter faucet requires drilling a hole in the sink or countertop and connecting tubing to a filter housing.
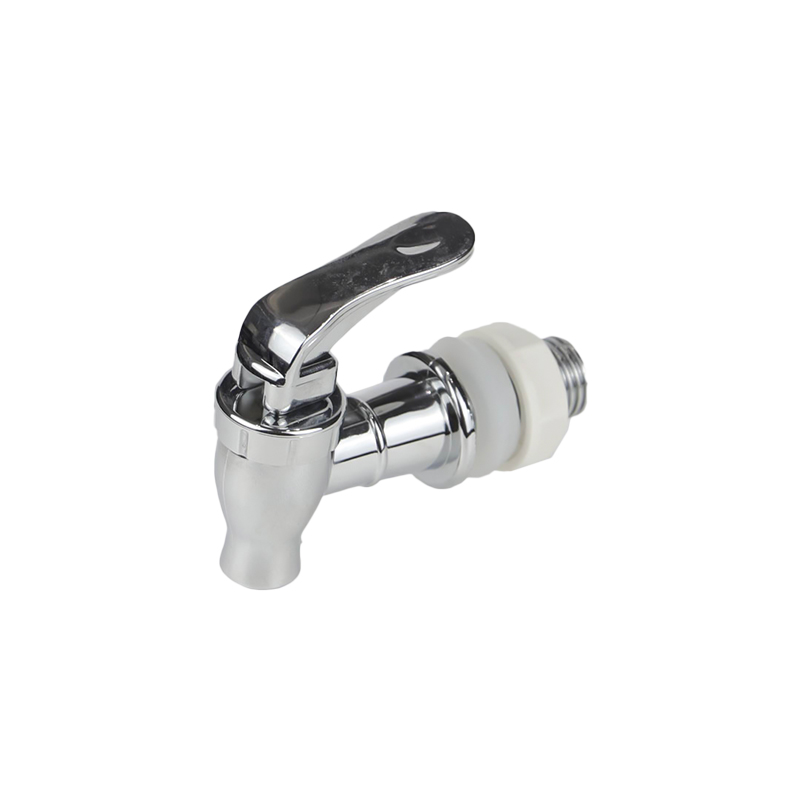
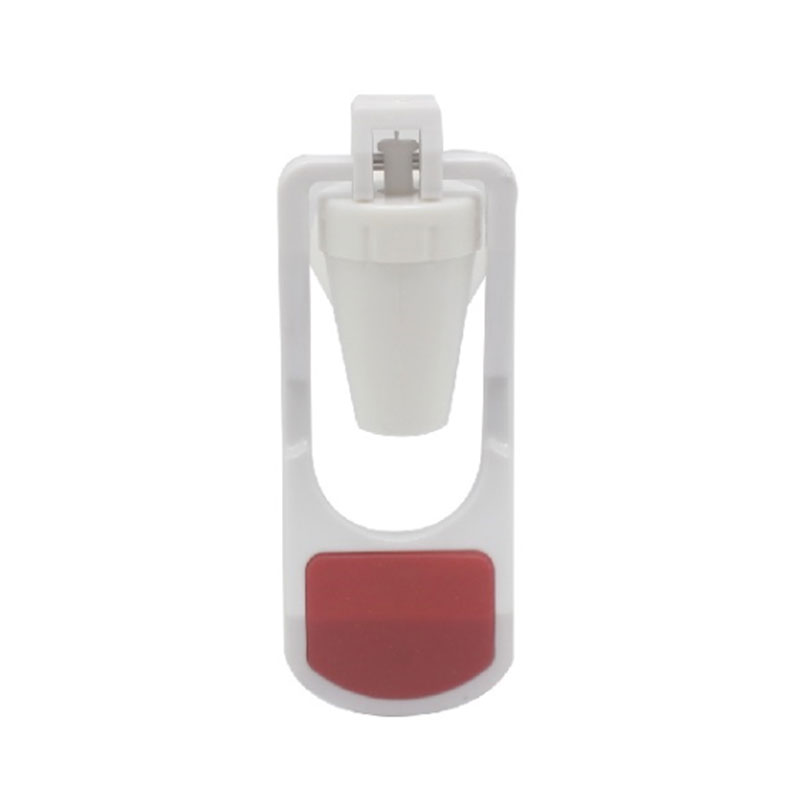
For dispenser taps, the most common thread is 1/2-inch NPT or a 1/2-inch straight thread with a silicone gasket. If you are replacing a tap on a bottled water dispenser, a standard plastic water dispenser faucet like the one linked below matches many 5-gallon and 3-gallon coolers and uses a simple gasket seal.
 Water dispenser faucetDetails & specificationsView Product →
Material matters too. Plastic taps are lightweight, resist scale buildup, and cost less. Metal spigots, especially 304 stainless steel, handle higher temperatures and look better in commercial settings. For hot water dispensing, choose an anti-scald tap with a child safety lock if children or elderly users are nearby. Check the shank length of your faucet. Undersink filter faucets often need a shank that is at least 1.5 inches long to fit through a standard countertop. If your counter is thicker than 1.5 inches, look for an extended shank or a faucet with a longer threaded body.
Step-by-Step Installation of an Undersink Filter Faucet
This sequence works for most undersink filter faucets. Adjust the order slightly if your filter system uses a different mounting bracket.
- Shut off the cold water supply under the sink. Open the existing faucet to relieve pressure and confirm the water is off.
- Place a bucket under the pipes and disconnect the cold water line if you need to move it aside. You may not need to disconnect it for a dedicated filter faucet hole.
- Drill the mounting hole. Use a 1/2-inch bit for a standard filter faucet shank, or the size specified by the manufacturer. Drill slowly and keep the bit perpendicular to the surface. For stainless steel sinks, use a step drill bit and cutting oil.
- Feed the faucet shank through the hole from above. From below, slide on the rubber washer, then the metal washer, and thread on the mounting nut. Hand-tighten first, then snug it with a wrench. Do not over-tighten, or you can crack the sink or crush the gasket.
- Connect the water tubing to the faucet. If your faucet uses a quick-connect fitting, push the tubing in until it stops, then pull gently to confirm it is locked. If it uses a compression fitting, slide the nut and ferrule onto the tubing, insert the tubing into the faucet inlet, and tighten the nut one and a quarter turns past hand-tight.
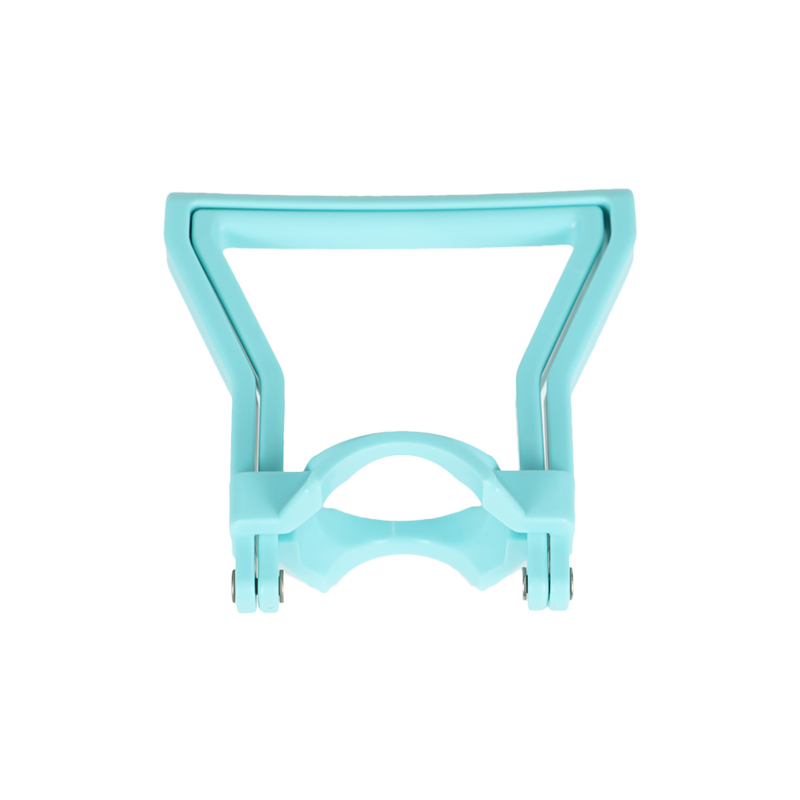
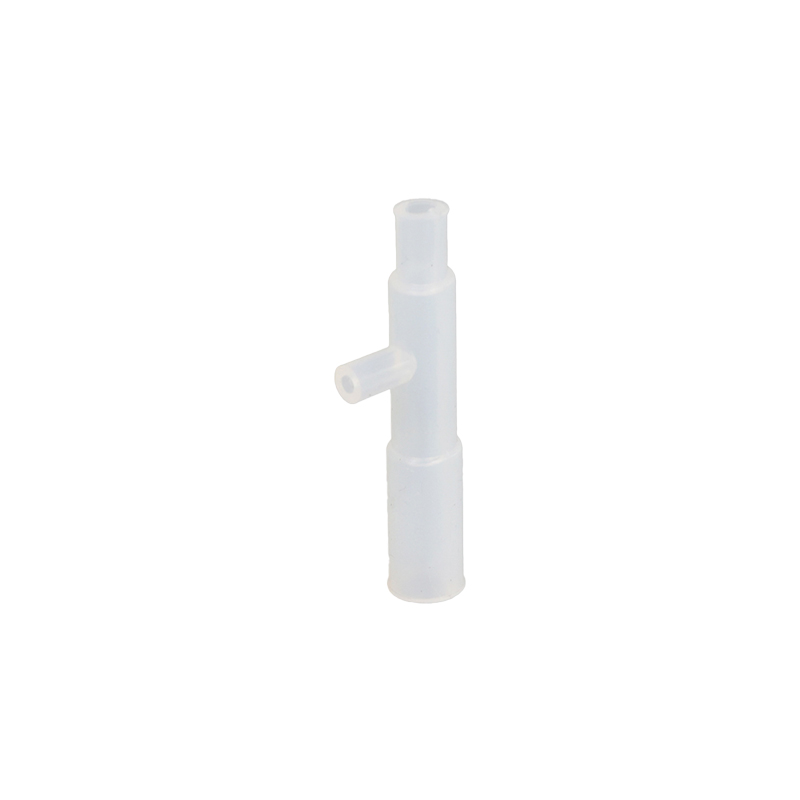
- If you are connecting to a dispenser or a non-standard port, a food-grade silicone tube can bridge the gap. The silicone tube below fits many quick-connect and barbed fittings and stays flexible in hot and cold lines.
 Silicon tube for connect with tap or quick fittingDetails & specificationsView Product →
- Connect the other end of the tubing to the filter housing or filter head. Follow the same sealing method that matches the fitting type.
- Turn on the water slowly. Check every joint with a dry tissue or paper towel. A leak will show up as a dark spot within a few seconds. Tighten only the leaking joint, no more than an eighth of a turn at a time.
- Flush the system. Open the filter faucet and let water run for 2 to 3 gallons, or as recommended by the filter manufacturer. This clears carbon fines and air from the lines.
Installing a Faucet-Mounted Filter Without Drilling
If you rent or do not want to drill, a faucet-mounted filter is the fastest option. It replaces the aerator on your existing kitchen faucet.
- Unscrew the existing aerator by hand or with a pair of pliers wrapped in tape to avoid scratches.
- Check the thread size. Most kitchen faucets use 15/16-inch male threads or 13/16-inch female threads. The filter kit usually includes adapters for both.
- Screw the diverter valve onto the faucet. Hand-tighten only. If it leaks, add the supplied rubber washer or a wrap of Teflon tape on the faucet threads.
- Attach the filter housing to the diverter. Push it on until it clicks, or thread it on depending on the model.
- Turn on the cold water and lift the diverter tab to send water through the filter. Let it run for five minutes to flush the cartridge.
One limitation: faucet-mounted filters reduce flow rate, typically to 0.5 to 1.0 gallons per minute. That is fine for drinking water but slow for filling a pot. If you need full flow for cooking, an undersink filter with a dedicated faucet is a better choice.
Leak Checks, Flushing, and First-Use Tips
After you turn the water back on, do not walk away. Watch the connections for the first five minutes. Most leaks appear within the first 60 seconds under full pressure. If you see a drip, shut off the water, dry the joint, and tighten it slightly. If it still leaks, disassemble the joint and check the ferrule or O-ring for nicks or debris.
Flushing is not optional. New filter cartridges contain loose carbon dust that can clog the faucet aerator. Run at least two gallons through the filter before drinking. If the water looks cloudy, keep flushing. Cloudiness is usually trapped air, not contamination.
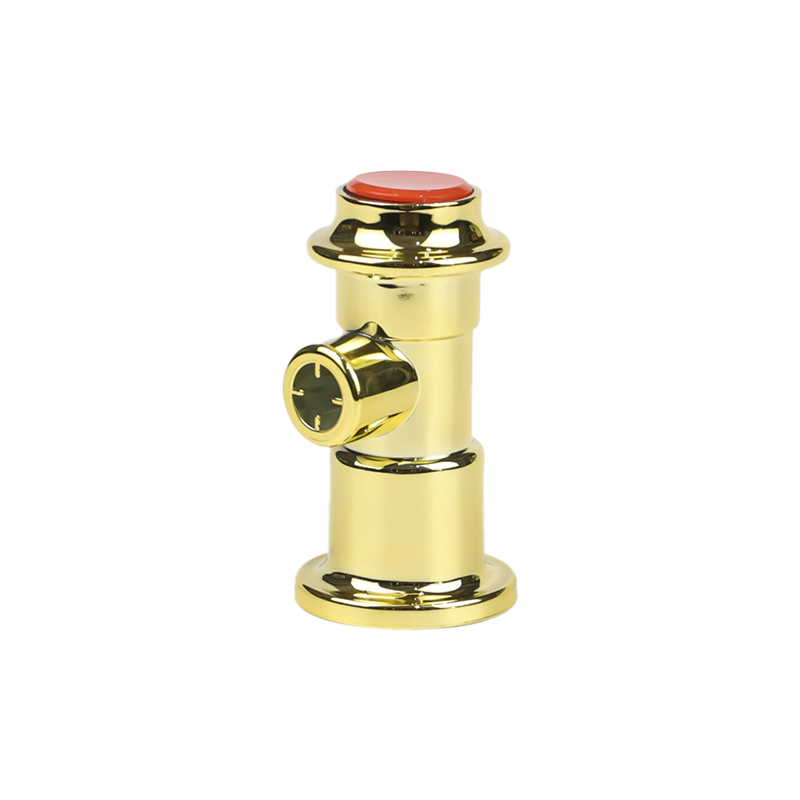
For hot water filter faucets or dispenser taps that dispense hot water, an anti-scald tap adds a safety layer. These taps use a push-button or a two-step lever that reduces the chance of accidental burns. They are common on office water coolers and childcare facilities.
 Water dispenser hot cold water tap-m16Details & specificationsView Product →
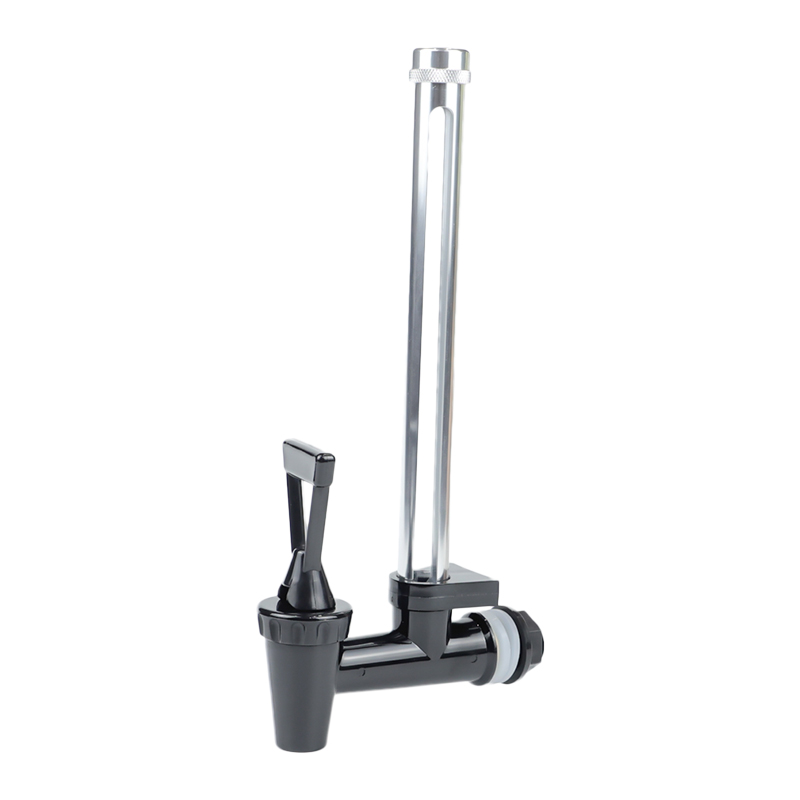
If you are unsure which replacement faucet fits your dispenser, the full range of dispenser taps and fittings covers plastic, electroplated, and metal spigots with standard 1/2-inch connections. Browse the catalogue to match thread size and mounting style.
Common Installation Mistakes and How to Avoid Them
These are the problems that send people back to the hardware store.
| Mistake | Symptom | Fix |
|---|---|---|
| Over-tightening the compression nut | Cracked ferrule or leaking at the nut | Tighten only 1 to 1.25 turns past hand-tight |
| Forgetting the gasket | Leak between faucet base and sink | Install the rubber washer on top of the sink, metal washer below |
| Using too much Teflon tape | Threads crack or fitting will not seat | Use 2 to 3 wraps maximum, wrapping in the thread direction |
| Not pushing quick-connect tubing fully | Tubing pops out under pressure | Push until you feel a click, then tug gently |
| Skipping the flush | Black specks in water or slow flow | Run 2 to 3 gallons through the filter before use |
Maintenance After Installation
A clean install lasts longer with simple maintenance.
- Replace the filter cartridge every 3 to 6 months, or when flow drops noticeably.
- Clean the faucet aerator every 2 months. Unscrew it and remove mineral buildup with vinegar.
- Check the tubing and fittings for moisture every few months. A dry tissue test takes 10 seconds.
- For dispenser taps, wipe the spout with a mild soap solution weekly. Do not use abrasive cleaners on plated surfaces.
- If you use silicone tubing, inspect it for stiffness or cracks. Food-grade silicone typically lasts 2 to 3 years in normal use.
Frequently Asked Questions
How long does it take to install a water filter faucet?
An undersink filter faucet takes 30 to 45 minutes for a first-time install, including drilling and leak checks. A faucet-mounted filter takes 5 to 10 minutes.
Do I need to turn off the main water supply?
No. You only need to shut off the cold water supply valve under the sink. If there is no shutoff valve, turn off the main water supply and open a low faucet to drain the lines.
What size hole do I need for an undersink filter faucet?
Most filter faucets need a 1/2-inch hole. Some models use a 7/8-inch hole, so check the manufacturer's specification. If you already have a hole from a soap dispenser or a second faucet, measure it before drilling a new one.
Can I install a filter faucet on a laminate countertop?
Yes, but you need to drill carefully. Use a carbide-tipped hole saw and support the underside with a scrap board to prevent chipping. For quartz or granite, use a diamond-tipped bit and keep the area wet.
Why does my new filter faucet sputter or spray?
Air trapped in the filter housing is the usual cause. Run water through the faucet for 2 to 3 gallons. If sputtering continues, check that the tubing is pushed all the way into the quick-connect fitting.
Can I use a water filter faucet for hot water?
Only if the faucet and filter are rated for hot water. Most standard filter faucets are for cold water only. For hot water dispensing, use an anti-scald dispenser tap that is designed for higher temperatures.
How do I know if the filter cartridge is installed correctly?
Water should flow steadily without air bubbles after flushing. If flow is very low right after installation, remove the cartridge and re-seat it. Make sure the O-rings are in place and not twisted.
What if the faucet leaks at the base after installation?
Shut off the water and check the gasket order. The rubber gasket goes on the top side of the sink (under the faucet base), and the metal washer goes underneath the counter. If the leak continues, add a thin bead of plumber's silicone around the base and let it cure for 24 hours.
Installing a water filter faucet is mostly about preparation and patience. Match the thread, use the right seal, and test under pressure before you fill a glass. Whether you are upgrading a kitchen sink or replacing a tap on a water dispenser, the steps are within reach of anyone with a wrench and an hour to spare. If you need a replacement faucet, silicone tubing, or a dispenser tap that matches your existing setup, the catalogue above is a good place to start.