
 English
 русский
 日本語
日本語 عربى
عربى Español
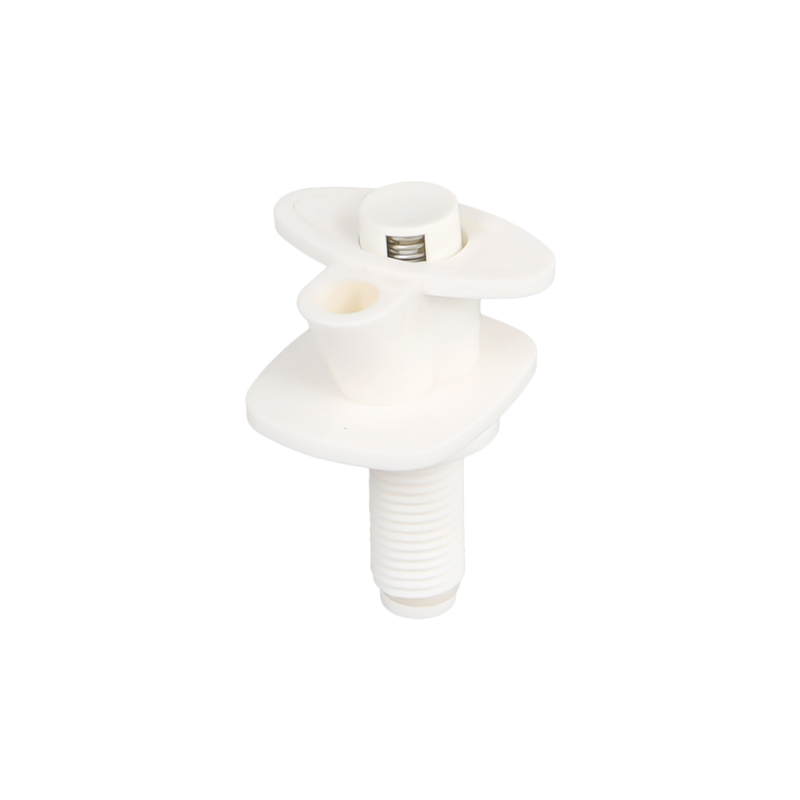
Plastic faucet removal steps
1. Remove the small screws on or behind the handle of the plastic faucet first, and remove the handle. If it is a plastic faucet that has been used for a long time, the screws may be rusted, so you can drop a little lubricating oil into it.
2. After removing the handle, use a wrench or a vise to remove the gland on the valve core, and remove the valve core to remove the plastic faucet.
How to maintain plastic faucets
1. Do not wipe the surface of the plastic faucet with hard objects such as steel balls, because hard objects are easy to scratch the surface of the faucet and affect the appearance.
2. When cleaning plastic faucets, it is best to use a neutral detergent for cleaning, so as to avoid strong acid and alkali damage to the faucet.
3. After cleaning the plastic faucet, the residual water on the surface should be wiped off with a dry lint-free towel, so as to avoid scale residue after a long time.
4. When using a plastic faucet, do not use too much force on the switch, just twist it gently. For those equipped with a handle, do not use it as a handrail to support or use, otherwise it will affect the service life of the faucet.
The phenomenon of loose handle and water leakage of the plastic faucet means that it needs to be disassembled and replaced. The disassembly method is actually very simple, but everyone needs to be patient and careful. If you still have doubts about the disassembly method, it is recommended to seek professional operation. Due to the high frequency of use, the plastic faucet is seriously damaged, so it is necessary to pay attention to maintenance during use in order to prolong the service life.


